How to Draw a Castle in Pencil: A Step by Step Guide
Learn how to draw a castle in pencil with a clear nine stage build that handles round towers, curtain walls, crenellations, and soft graphite shadow.
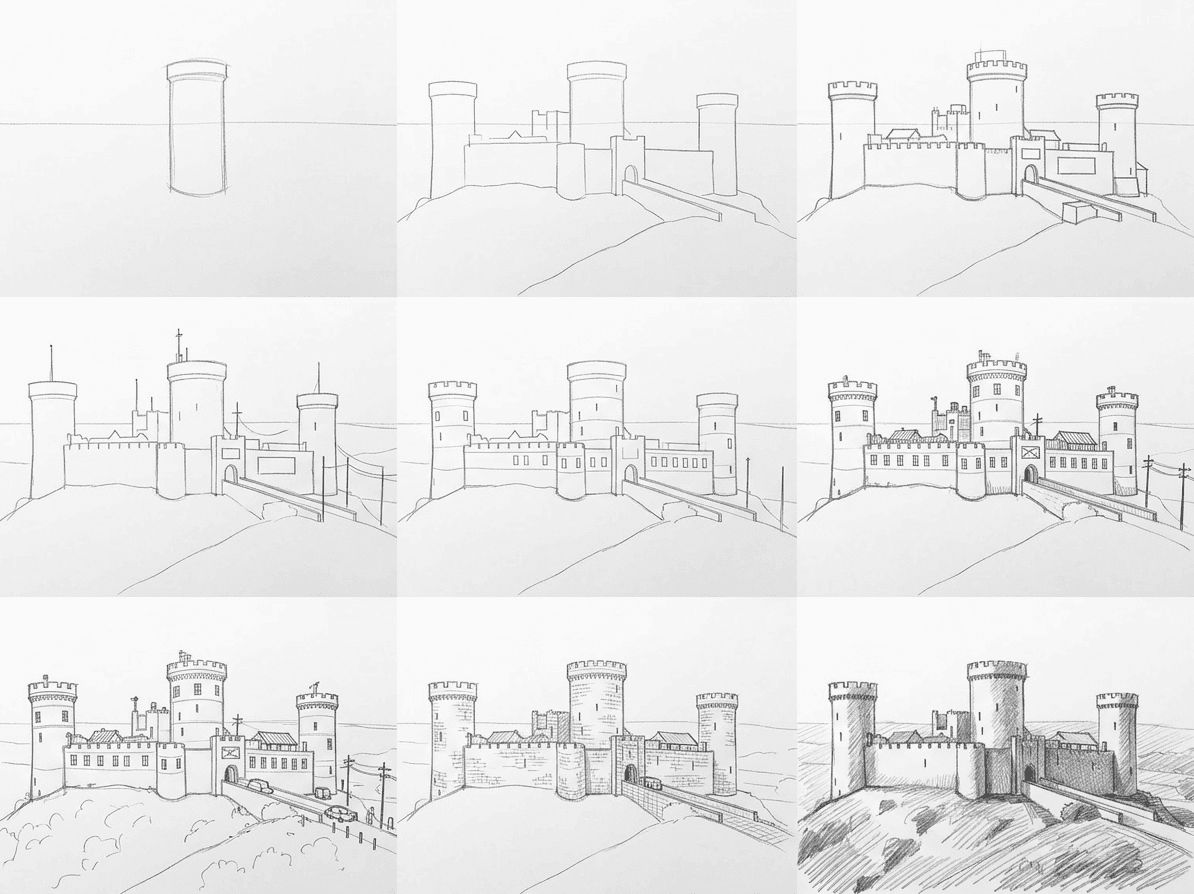
Learning how to draw a castle looks hard until you stop seeing a fortress and start seeing a stack of simple shapes. In this castle pencil drawing walkthrough you build a medieval stronghold in nine calm stages, from a single tower to a shaded stone keep on a grassy hill. You need no perspective grids and no fancy supplies, only a pencil, an eraser, and a willingness to keep your early lines light. Each stage adds one type of mark, so you always know what to draw next and never feel lost in front of all that stone.
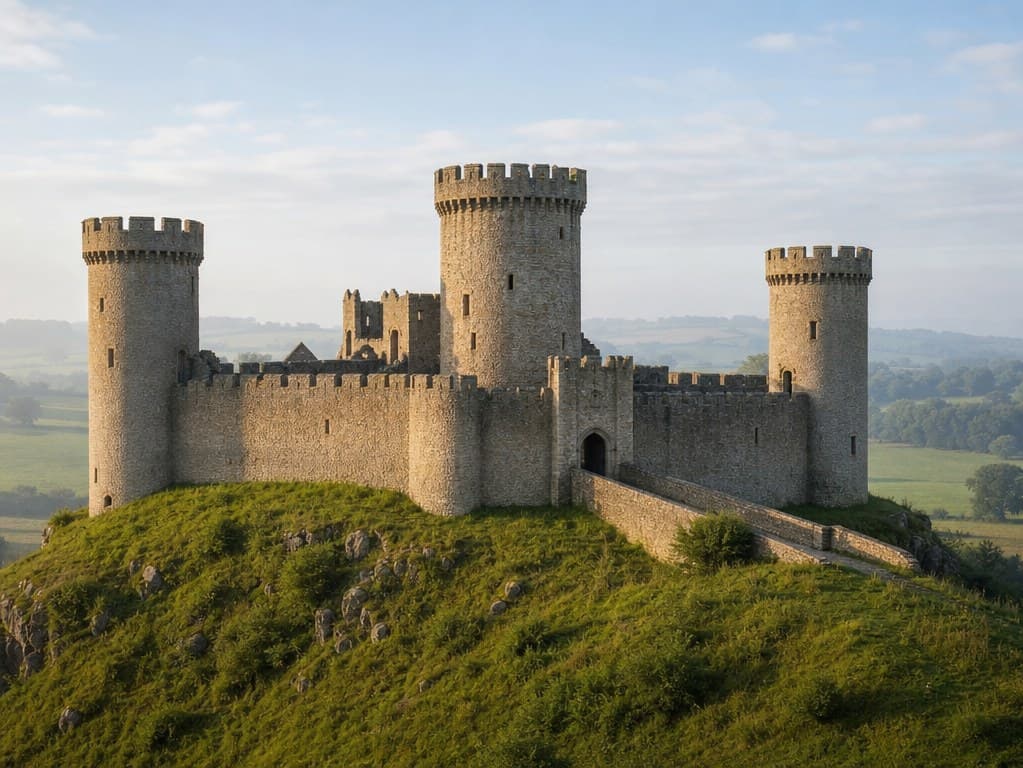
What you will need
A graphite pencil or two will carry the whole drawing. An HB pencil handles the faint layout lines, and a softer 2B or 4B gives you the darker tower shadows near the end. If you own only one pencil, press lightly for the early work and harder for the final tone.
Smooth or lightly textured paper works best. Heavy tooth fights your thin lines and breaks up the stone texture you add later. A kneaded eraser is the one tool worth buying, since you can shape it to a point and lift a single crenellation without smudging the wall beside it. A ruler is optional and many artists skip it, since slightly hand drawn walls feel warmer than ruled ones.
Keep a scrap sheet under your hand to stop oils from glazing the page. That is the entire kit. The point of this medieval castle sketch is to show that careful stages beat expensive gear every time.
Why we break this into nine stages
A castle has a lot of parts, so drawing it all at once invites crooked towers and a wall that drifts uphill. The nine stage method fixes that by adding one kind of mark at a time. You set the big shapes first, lock the proportions, then layer detail only once the skeleton is sound. Each stage stays light and forgiving, which means a mistake in stage three costs you seconds, not the whole sheet. It also doubles as a gentle architecture tutorial, because the same build big shapes first habit works on houses, churches, and bridges. Once the order lives in your hand you can point it at almost any building and trust the steps to carry you.
Building the castle stage by stage
Work through the nine cells in order and resist skipping ahead. Each one shows the drawing with exactly one new layer added, so you can copy the checkpoint, compare it to your page, and only then move on. Keep your pencil light for the first six stages and save any pressure for the texture and tone at the end.
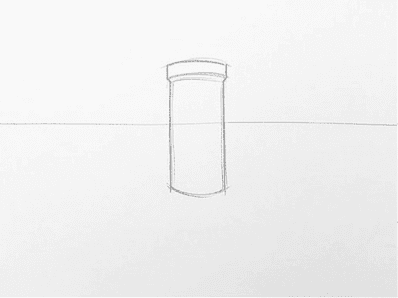
Start with a light horizon line across the middle of the page. Then draw the tallest tower as one rounded vertical box sitting astride that line. This central keep anchors every later mark, so keep the contour faint and lift it with your eraser if the width feels wrong. Add nothing else yet, no cap detail and no battlements.
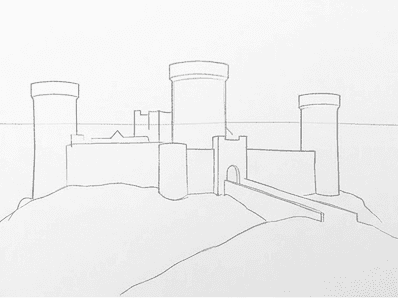
Block in the rest of the silhouette next. Add the two flanking towers as narrower rounded shapes, sketch the long curtain wall that links all three, and draw the soft mound of the hill the castle rests on. A single low line behind the walls stands in for the distant countryside. Everything here is still an empty outline.
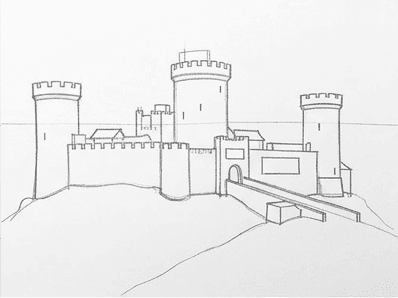
Now build the secondary masses that hang off the main walls. Outline the gatehouse that projects from the curtain wall, the smaller inner building peeking above the rampart, and the flat wall walk that caps the stone. These stay as single clean contours. They turn a plain box into a layered stronghold with a front and a back.
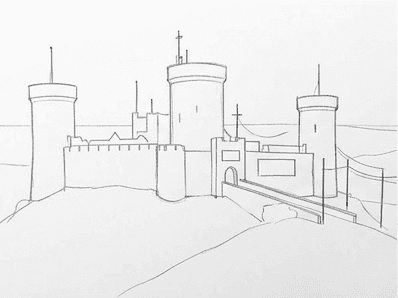
Drop in the tall straight lines that a castle needs. A slim banner pole rises beside the right tower, and a thin causeway runs down the slope to the gate with a low railing along its edge. Straight strokes like these contrast with all the curves and quietly tell the viewer how big the stonework really is.
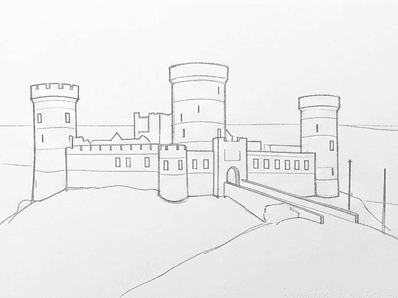
Mark the openings as plain shapes, no shading. Tall thin arrow slits climb each tower, a row of small windows crosses the curtain wall, and the gateway sits as one arched opening at the base. The trick to draw a fortress step by step is to place these as simple slots and rectangles first, then trust later stages to dress them up. Match the slit heights across the towers so the wall feels built by one mason, not three.
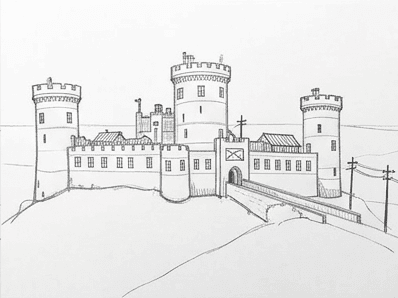
Add the ornament that makes the shape read as medieval. Draw the square crenellations along every tower top and wall edge, the small frames inside the windows, and the cap line on the gatehouse. The notched battlements do most of the work, since a smooth wall could be any building while a toothed one can only be a fortress.
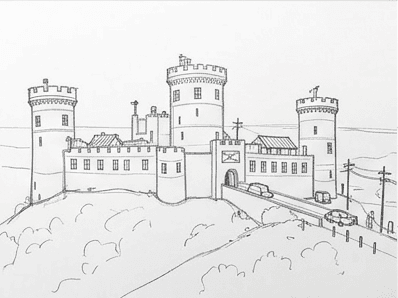
Bring the ground to life. Scatter a few rocks and clumps of grass across the hillside, sketch the path that climbs toward the gate, and tuck low bushes against the base of the walls. None of this is fussy. A handful of loose marks is enough to plant the heavy stone in a real place rather than empty white paper.
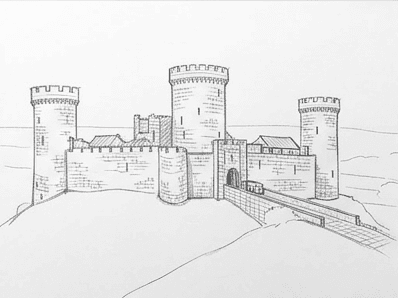
Suggest the stonework with line only. Lay light, broken strokes across the towers and curtain wall to hint at courses of masonry, add a few tile lines on the inner roof, and texture the hill with short grass marks. Hold off on any grey fill. At this stage the whole castle is still a line drawing, just a richer one.
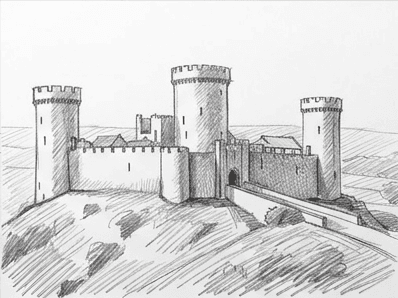
Finish with a first pass of tone. Hatch mid grey on the shaded side of each tower, under the wall walk, and inside the gateway, letting white paper show between the strokes. The fortress now reads as solid stone in morning light. Resist the urge to keep darkening, since the sunny faces stay as clean paper and sell the whole effect. Step back, squint at the drawing, and add a touch more grey only where a tower clearly turns away from the sun.
Common mistakes when drawing a castle
A few errors show up in almost every first attempt. Each one is easy to fix once you can name it, so scan this short list before your next try.
- Towers all the same height. Equal towers flatten the silhouette. Make the central keep clearly tallest and stagger the others.
- Pressing too hard in stage one. Dark early lines cannot be nudged. Keep the layout faint with an HB until the proportions look right.
- Crenellations of random width. Uneven battlements read as a wobble. Tick equal marks along each edge first, then draw the notches.
- Stone texture gone solid grey. Filling the walls kills the sketch. Use short broken lines and leave plenty of white between them.
- Leaning towers. Curves drift sideways without a check. Compare each tower against the vertical edge of your page as you go.
Practice prompts to keep going
The fastest way to lock in this castle drawing tutorial is to run the same nine stages on a fresh subject the same day, while the order is still warm in your hand.
Try the castle from a flatter, straight on angle so the towers line up side by side with no causeway. Then draw it at dusk, pushing the shadow hatching darker on one whole side to feel how light reshapes stone. For a third pass, swap the round towers for square ones and add a moat, which tests whether you can keep the staged method when the shapes change.
Drawing a castle rewards patience more than talent. Build the big shapes, keep your lines light until the skeleton is right, and add detail in the order the stages give you. Do that and a clean fortress shows up almost on its own. When you want this same staged guidance on your own reference photos, the Learn to Draw app on iOS and Android turns any picture into a step by step grid like the one you just followed.

