How to Draw a Puppy: A Step by Step Pencil Guide
Learn how to draw a puppy in pencil with a clear nine stage method that handles the soft fur, big eyes, and proportions of a sitting labrador.
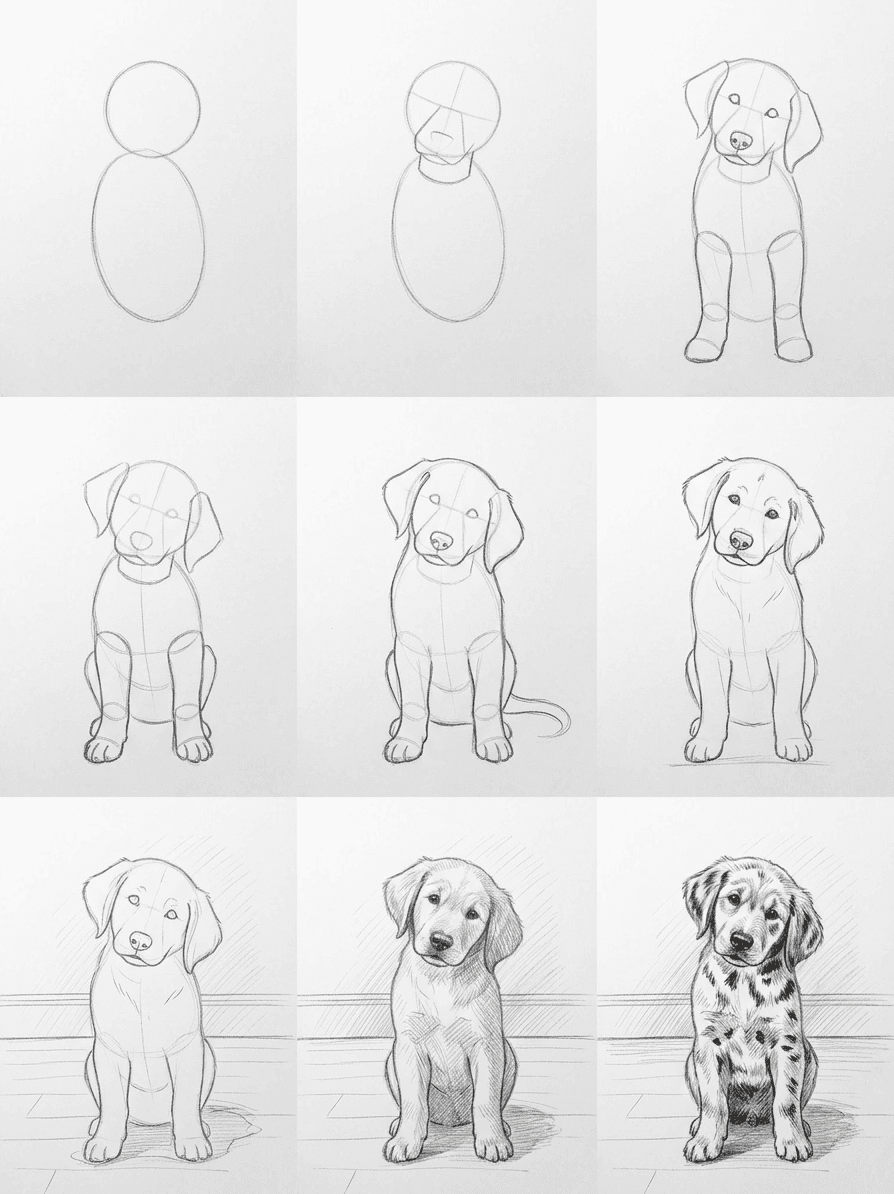
Learning how to draw a puppy is one of the most rewarding first projects in animal art, because the soft shapes are forgiving and the payoff is instantly cute. In this tutorial you will turn a single reference photo of a golden labrador puppy into a finished pencil portrait across nine clear stages. You will block in the big masses first, then add limbs, fur, and facial detail, and finish with the darks that make the drawing read as real.
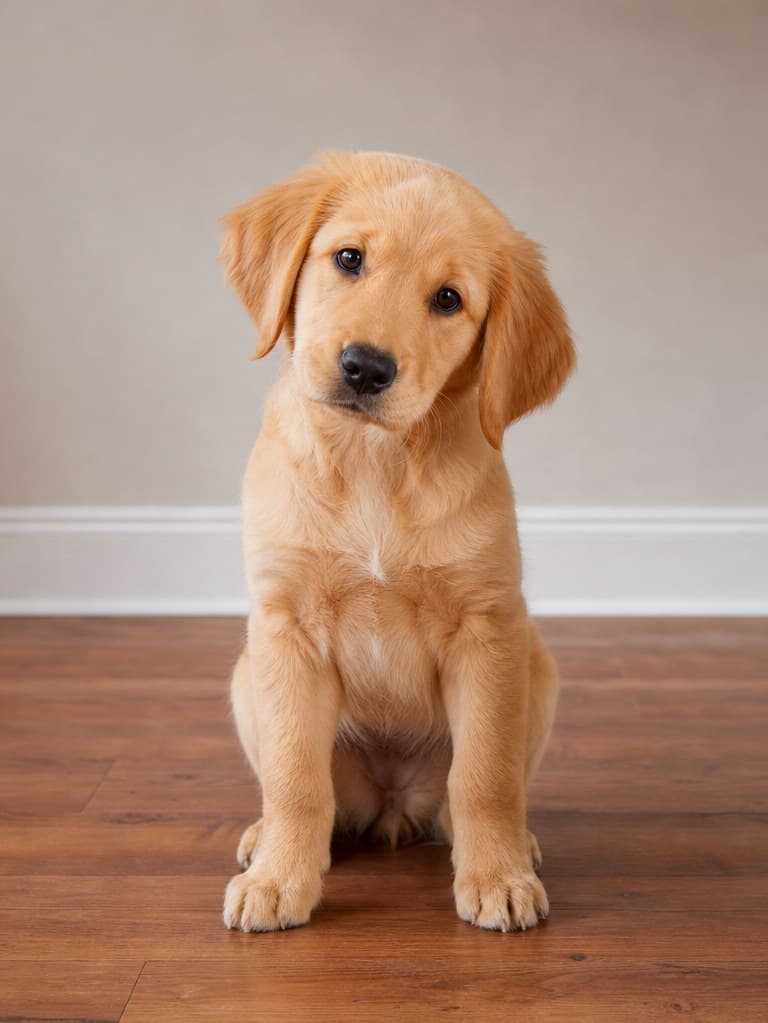
What you will need
You can draw this puppy with three pencils and a bit of patience. An HB handles the light layout lines and the early construction. A 2B builds the mid tones in the coat and the soft shadows under the chin and legs. A 4B or 6B gives you the darkest darks in the eyes, the nose, and the contact shadow on the floor.
Use smooth or lightly textured drawing paper around 160 gsm so the graphite sits evenly and erases cleanly. A kneaded eraser is your best friend here. You can press it onto soft fur to lift highlights without leaving hard edges, and shape it to a point to pull out single stray hairs later. Keep a regular vinyl eraser nearby for sharper corrections.
A blending stump helps smooth the broad coat tones, though a clean fingertip works in a pinch. Keep a sharpener close, because crisp points matter most when you reach the eyes and the nose. Set your reference where you can glance at it without moving your head much.
Why we break this into nine stages
The nine stage method is built on construction lines, the light guide shapes that lock proportion before you commit to detail. You start with simple masses, check that the head sits correctly on the body, then layer in limbs, features, and shading one decision at a time. This keeps beginners out of the classic trap of finishing one perfect eye on a face that turns out too small. Each stage is reversible, so mistakes stay cheap and easy to fix.
Building the puppy stage by stage
Work lightly through the first half. Every line you place now is a suggestion you can refine, not a commitment you are stuck with.
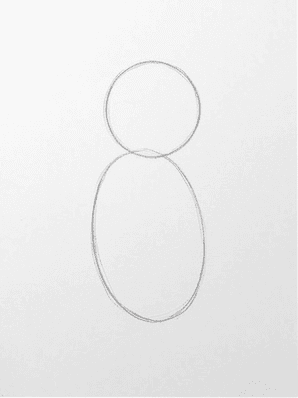
Start with two simple masses. Draw a tall egg for the chest and body, then a rounded shape above it for the skull. Keep both shapes faint and check the gap between them, since a sitting puppy has a short, compact body. Measure the head against the body, because in a young labrador the head reads large relative to the chest, and that ratio is part of what says puppy.
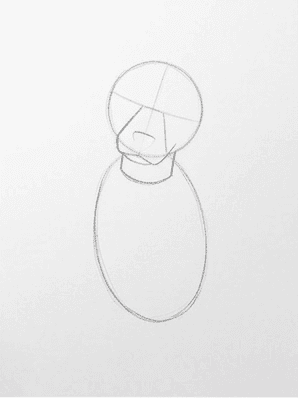
Connect the two masses with a short, thick neck and block in the muzzle. Puppies have stubby muzzles, so keep yours short and rounded rather than long. Add a light center line down the face that you will use to place the nose and eyes symmetrically in a later stage. This early puppy pencil drawing should still look loose and gestural, with no clean edges yet.
Bring down the front limbs. From the base of the chest, draw two fairly straight forelegs that meet the floor and end in soft, rounded paws. Sitting puppies plant their front paws close together under the chest. Keep the lines simple and skip the toes for now. You are only confirming where the weight lands and how tall the legs read against the body.
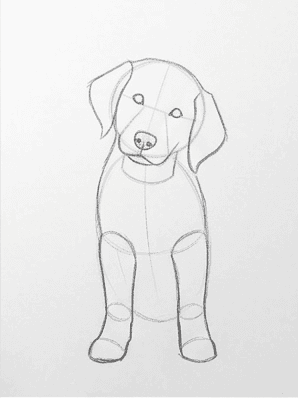
Add the back limbs and rear paws. In a seated pose the haunches fold up beside the body, and only the lower legs and back paws show from the front. Sketch the soft curve of each thigh and tuck the rear paws just behind the front pair. This folded base is what gives a sitting dog its grounded, stable triangle of weight.
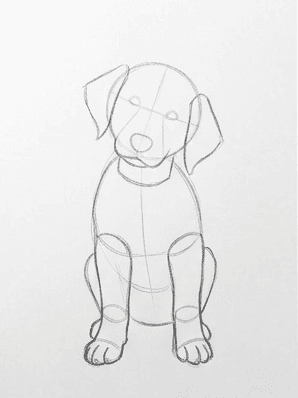
Now give the puppy its character. Add the long drop ears falling beside the cheeks, a short tail peeking out at one side, and refine the whole outline with a soft, slightly broken fur contour instead of a hard line. Labrador ears sit high and hang flat, so let them frame the face. These dropped ears are the fastest way to draw a labrador puppy that reads true to the breed.
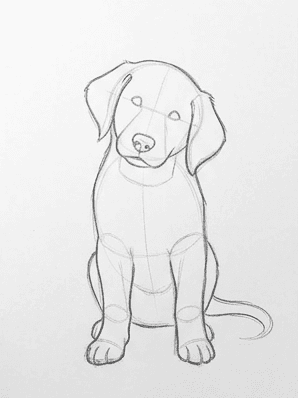
Place the eyes, nose, and a ground line. Set the eyes on your centerline about halfway down the head, keep them round and dark, and angle them slightly toward each other for that soft puppy gaze. Draw the broad triangular nose at the end of the muzzle. Add a light horizontal line where the floor meets the wall so the puppy has somewhere solid to sit.
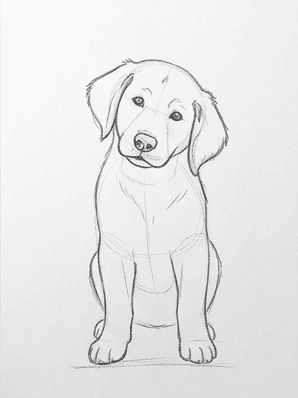
Switch from line to tone. Lightly shade the background wall with even diagonal strokes so the pale puppy stands out against it, then lay a soft cast shadow under the body where it meets the floor. Keep the background flat and quiet. It should sit behind the puppy and never compete with it. This is where an easy dog sketch starts to feel three dimensional.
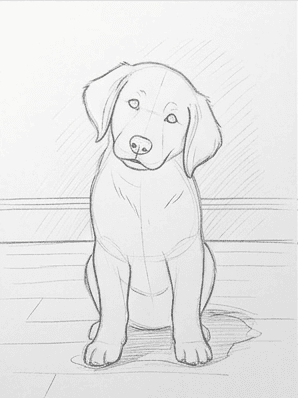
Build the form shadows on the puppy itself. Decide that your light comes from one side, then hatch gentle mid tones down the shadowed flank, under the chin, inside the ears, and beneath the legs. Follow the direction the fur grows with every stroke. Leave the chest and the top of the head lighter, since those planes face the light and should stay bright.
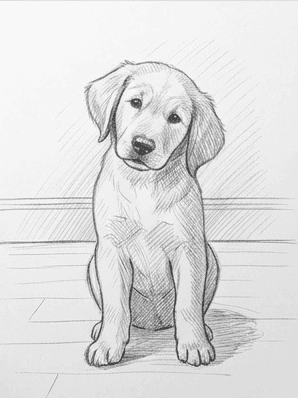
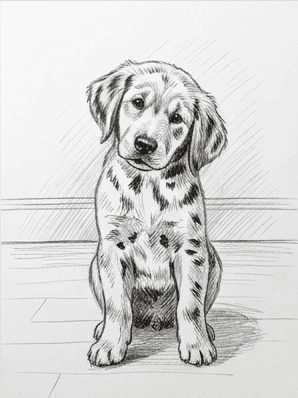
Finish with the darkest darks and the markings. Press harder with your 4B to deepen the nose, the pupils, the line of the mouth, and the deepest creases where the legs fold. Add any coat markings and a few stray fur flicks along the edges to break up the silhouette. Step back, compare against your reference, and lift a few highlights with the kneaded eraser.
Common mistakes and how to fix them
A handful of errors show up in almost every first puppy drawing. Here is how to catch each one early and recover it without starting over.
- Head too small. If the puppy starts to look like a small adult dog, the head mass shrank during cleanup. Re-measure it against the body and enlarge the skull before you commit to any detail.
- Eyes too high or too far apart. Beginners tend to drift the eyes up toward the forehead. Drop them back to the halfway line of the head and pull them slightly closer together for that young, soft look.
- Fur outlined with one hard line. A single crisp contour kills the softness. Go back over the edge with short broken strokes and let a little background tone bleed into the fur.
- Muddy mid tones. If the coat turns gray and flat, you blended too soon. Lift it back with the kneaded eraser and rebuild with directional strokes instead of smearing.
- Everything the same darkness. Without a clear darkest dark the drawing feels weak. Reserve your heaviest pressure for the nose and pupils so the rest of the values have room to breathe.
Practice prompts to lock it in
Repeat the same nine stages on a few variations to make the method stick. Draw the puppy from a three quarter angle so you have to foreshorten the muzzle and stagger the paws. Then draw the same pose in warm afternoon light from a window, which lengthens the cast shadow and deepens one whole side of the coat. For a tougher round, swap breeds and draw a spaniel or a husky pup, where the ear shape and longer fur force you to rethink stages five and eight.
Give yourself permission to draw this puppy more than once. The first pass teaches you the map, and the second is where the fun and the likeness arrive. When you want this exact nine stage workflow on your own pet photos, the Learn to Draw app on iOS and Android turns any picture into a guided grid like the one here, so you can practice the same construction method anywhere. Keep your pencils close and draw something soft today.

