How to Draw an Acoustic Guitar in Pencil: A Step by Step Guide
Learn how to draw an acoustic guitar in pencil with a calm nine-stage method that handles the soundhole ellipse, body curves, and gentle shading.
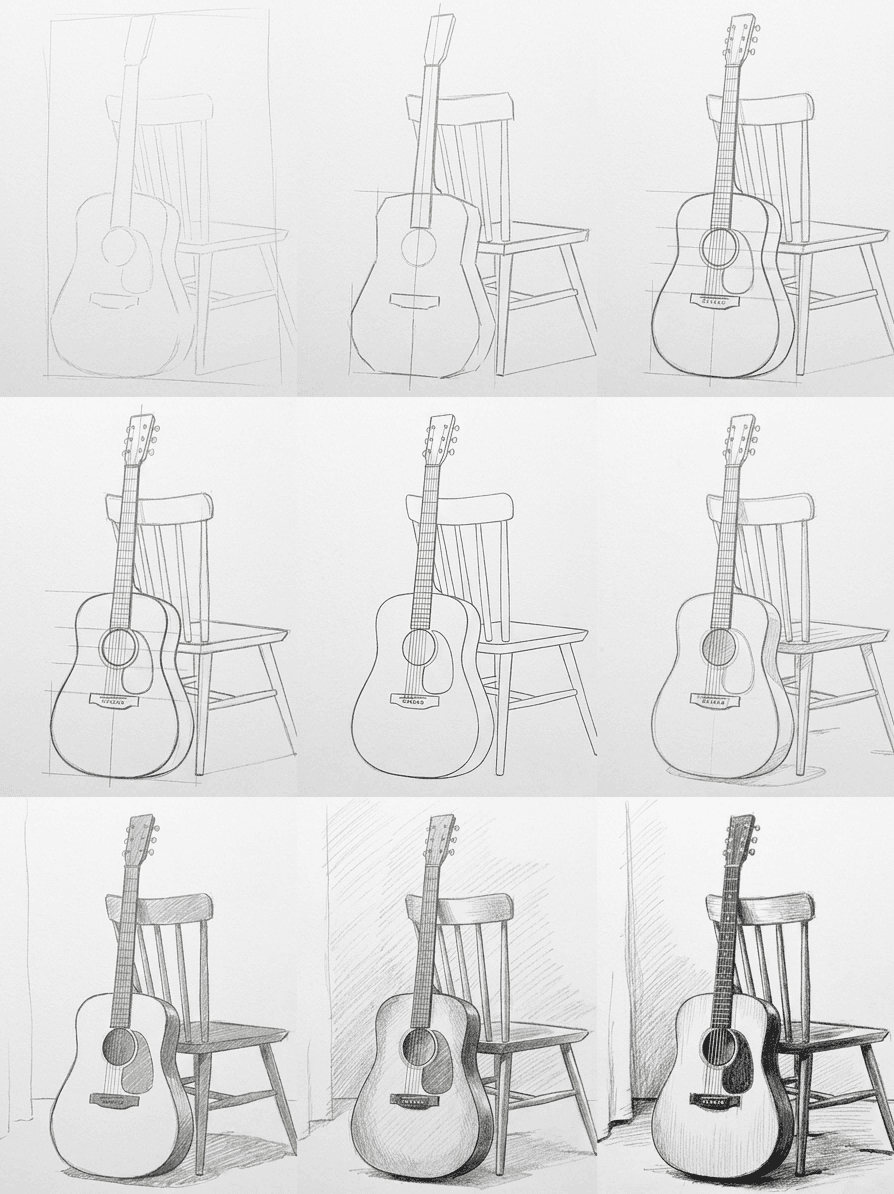
An acoustic guitar looks intimidating until you notice it is mostly two stacked ovals on a straight neck. This tutorial shows you how to draw an acoustic guitar in pencil with a nine-stage construction method that keeps the body symmetrical, the soundhole round, and the strings parallel. You will work from a clean photo reference, build the structure with light guidelines, then add the shading that turns flat outlines into polished wood. By the end you will have a finished guitar pencil drawing you are proud of.
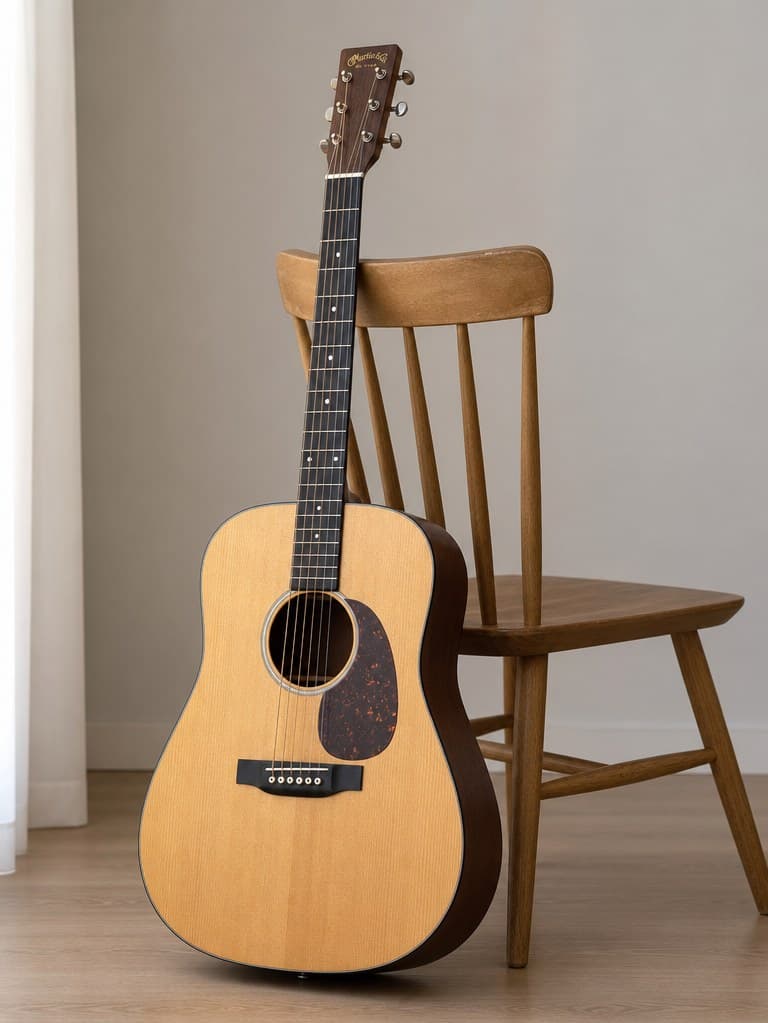
What you will need
A musical instrument sketch does not demand fancy gear. Pick an HB pencil for the construction lines and a softer 4B or 6B for the darks. A mechanical pencil with 0.5mm HB lead also works for the layout if you prefer a crisp guideline you can erase cleanly.
Use a smooth-surfaced sketch paper around 90 to 120 gsm. Anything heavier than copy paper will hold up to repeated erasing. Keep a kneaded eraser nearby for lifting graphite gently, and a plastic eraser for crisp edges and small whites on the strings and the soundhole rim.
Tape the corners of your paper to a flat board so the page does not shift while you work the long, straight neck. A small ruler is useful for the fretboard and tuning pegs. You can sit at a desk with a single lamp, or by a window, as long as the light stays steady through the session.
Why we break this into nine stages
This still life tutorial leans on a simple idea, divide the guitar into shapes you already know how to draw. The body has long curves that need to be symmetrical. The soundhole is a perfect ellipse, and the strings have to read as straight. If you draw any of these freehand from the start, small errors compound. Nine short stages let you sketch loose, check proportions, and commit only after the structure looks right. Each stage gives you a clean place to stop, step away for lunch, or come back tomorrow without losing your place.
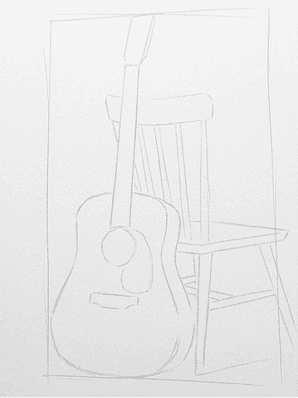
Start with a single loose rectangle that contains the entire guitar from the top of the headstock to the bottom of the lower bout. Keep your pencil light and your wrist loose. Mark the centerline of the rectangle so the neck stays vertical, then tick the top of the headstock, the join between the body and the neck, and the widest point of the body. These are your big landmarks. Nothing here is final.
Inside the envelope, draw two stacked ovals for the upper and lower bouts of the body. The lower oval is larger and rounder. The upper oval is smaller and a touch flatter. Add a long thin rectangle for the neck and a smaller trapezoid at the top for the headstock. Cross the body with a horizontal line at the widest point of each oval. These crosshairs will guide every curve that follows.
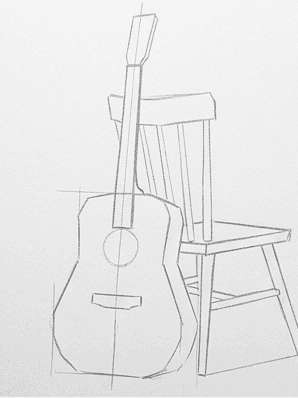
Step back and check the ratios. The lower bout should be roughly 1.4 times the width of the upper bout for a standard steel-string acoustic. The neck length, from the body to the nut, is about the same as the height of the lower bout. Tweak your ovals until those numbers feel close. Then add a flat ellipse inside the upper bout for the soundhole, with a horizontal axis that matches the body's main horizontal line.
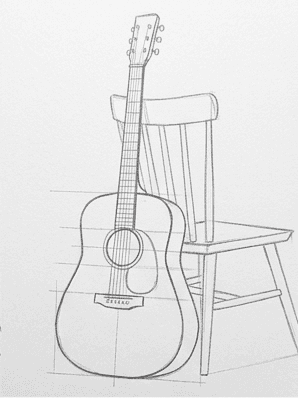
Now connect the ovals into one continuous body silhouette. Trace the outer edge of each bout, then cut inward at the waist to form the figure-eight that makes a guitar read as a guitar. The cutaway, if your reference has one, sits at the upper bout near the neck. Curve gently. The body line never has a flat segment. Add the neck edges up from the body to the nut, the curved headstock outline, and a small bridge rectangle below the soundhole.
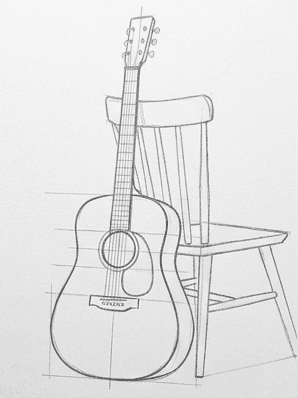
Lift the construction lines with the kneaded eraser until only the silhouette and the soundhole ellipse remain. Pat the eraser, do not scrub, so the paper stays smooth. Then darken the final outline with a sharp HB pencil. Add the six tuning pegs as small ovals along the headstock, the saddle on top of the bridge, and a few dot inlays on the fretboard. The drawing should now read as a guitar from across the room.
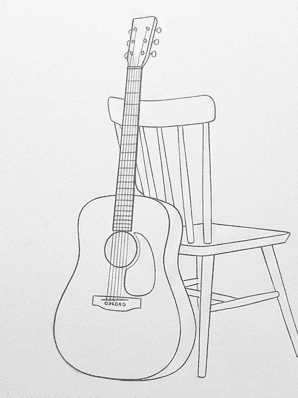
Look at the reference and squint your eyes. The shadows on a guitar fall in predictable places: under the soundhole rim, along the side of the body that faces away from the light, beneath the bridge, and inside the rosette ring. Trace the outer edge of each shadow shape with a light HB line. Treat each shadow as a flat patch, not a smooth gradient. Mapping them first keeps your final tones clean and easy to control.
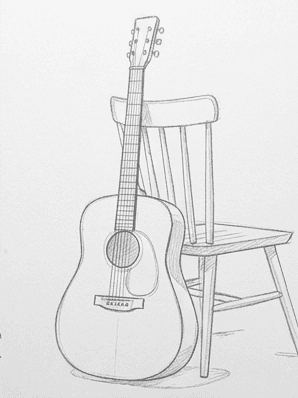
Switch to a 2B or 4B pencil and fill each shadow shape with parallel hatching. Keep the strokes at roughly 45 degrees to start. On the curved body, let the hatching follow the surface so it bends with the wood. Press lightly on the first pass. You can always add more graphite later, but pulling it back is harder. The shadow inside the soundhole gets the densest hatching of all.
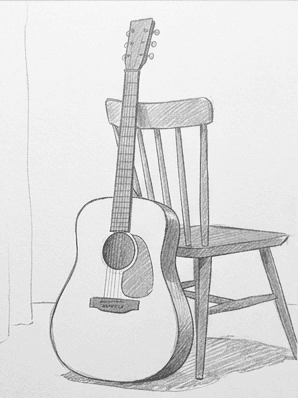
Now add the midtones that link your darks to the white of the paper. A second pass of crosshatching at a shallow angle over the body, lifted away from the highlights along the top of the bouts, will round the form. Drop a soft background tone behind the headstock and under the body so the guitar stops floating. A few light strokes for the chair behind, blurred and low-contrast, ground the scene without competing.
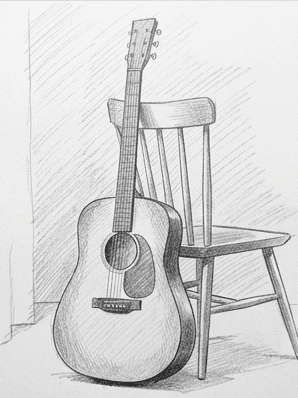
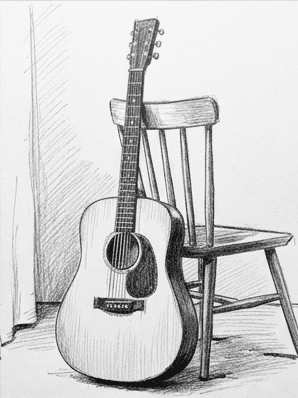
Take a 6B pencil and push the deepest darks: inside the soundhole, the shadow under the strings near the bridge, and the line where the neck meets the body. Sharpen the outer edge of the body on the lit side with a clean line. Add the six strings with a ruler, holding the pencil at a low angle so they read as fine grey lines. Step back. The drawing is done when you stop wanting to add more.
Common mistakes
The most common slip in any draw a guitar step by step process is making the upper bout too large. If your guitar looks top-heavy, gently scale the upper oval down by about ten percent and redraw the waist. The fix usually takes under a minute, and the silhouette will suddenly feel right.
A second classic mistake is a soundhole that tilts to one side. Check that the horizontal axis of the ellipse is parallel to the body's centerline crosshair. If the ellipse points up or down, the whole guitar will read as warped no matter how careful the rest of your shading is.
Strings that look too dark or too thick are another trap. Use a sharp 2B held almost flat against the paper for the bass strings, and a sharper HB for the treble strings. They should read as silver, not black. A single hard string line will pull your eye away from the body.
A flat, lifeless body usually means the shading is uniform. Reintroduce a clear highlight along the top of each bout with the kneaded eraser. The contrast between a clean white edge and a soft midtone is what makes the wood feel curved instead of painted on.
Practice prompts
Once your first sketch dries, try the same workflow on a small variation. Draw the guitar with the neck pointing right instead of up, so the long curve sweeps horizontally. The construction is identical, but your eye gets fresh exercise on shapes it cannot autopilot.
Next, swap the lighting. Set the same guitar in low afternoon sun and lengthen every shadow. Watch the soundhole shadow stretch into a flattened oval. This is the fastest way to feel how light shapes form rather than simply colors it.
For a third pass, switch instruments. A classical guitar has a wider neck and no cutaway, while an electric guitar simplifies to a slab with controls on top. The nine-stage method scales to all of them, and the practice carries straight back to your next acoustic.
Save your reference and your finished sketch side by side, then compare them in good light. Look for one thing you got right and one thing you would change next time. If you want this same construction-line workflow on your own photos, the Learn to Draw app on iOS and Android builds the same nine-stage progression from any image you upload. Drop in a snapshot of your own guitar and follow along at your own pace.

