How to Draw a Bowl of Fruit: A Loose Watercolor Tutorial
Learn how to draw a bowl of fruit with a calm nine stage loose ink and wash workflow covering apples, pears, grapes, and soft shadow on linen.
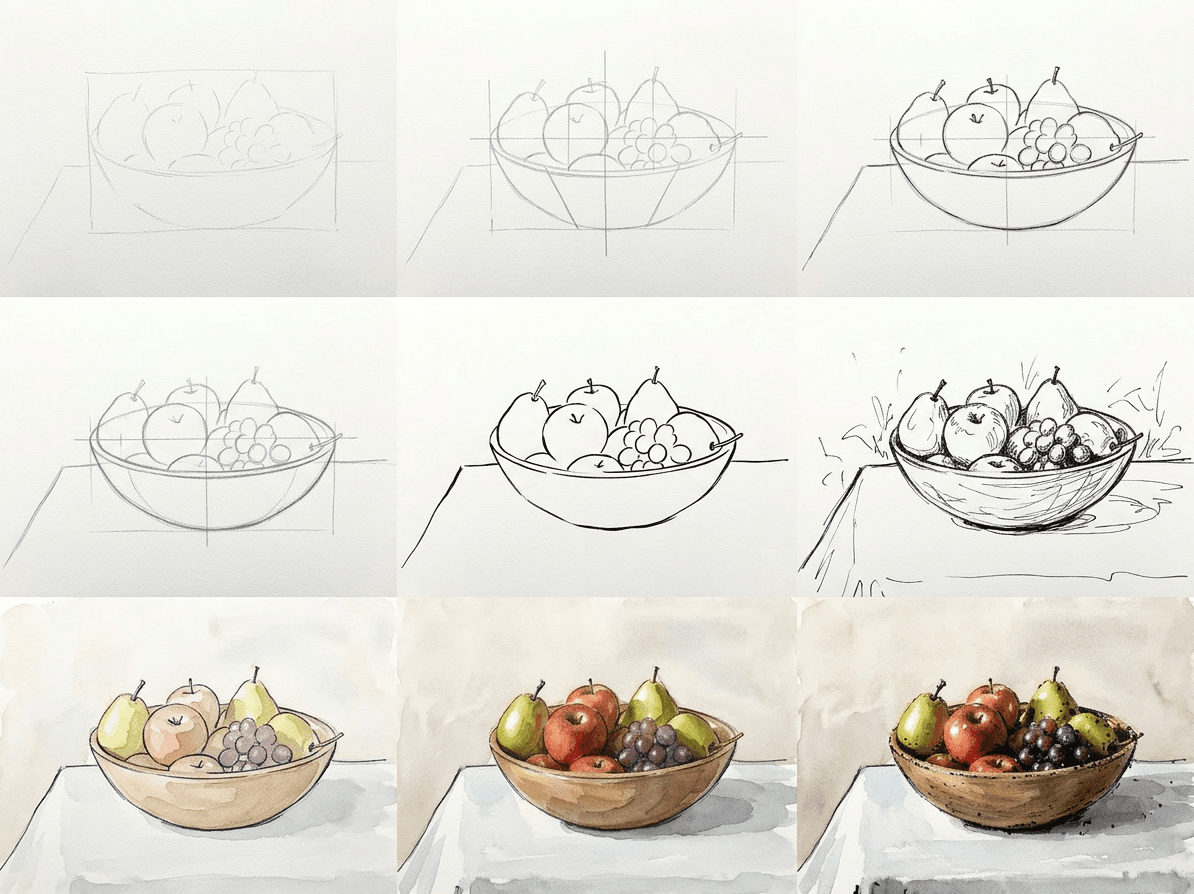
A bowl of fruit is the still life that quietly teaches you everything: ellipse logic, weight, soft form, color temperature. This guide on how to draw a bowl of fruit walks through a clean nine-stage process from a light pencil envelope to a finished loose ink and wash painting. The reference is a small wooden bowl holding apples, pears, and a tight bunch of grapes resting on a linen cloth. You will work in pencil first, then add waterproof ink lines, then drop in transparent watercolor washes.
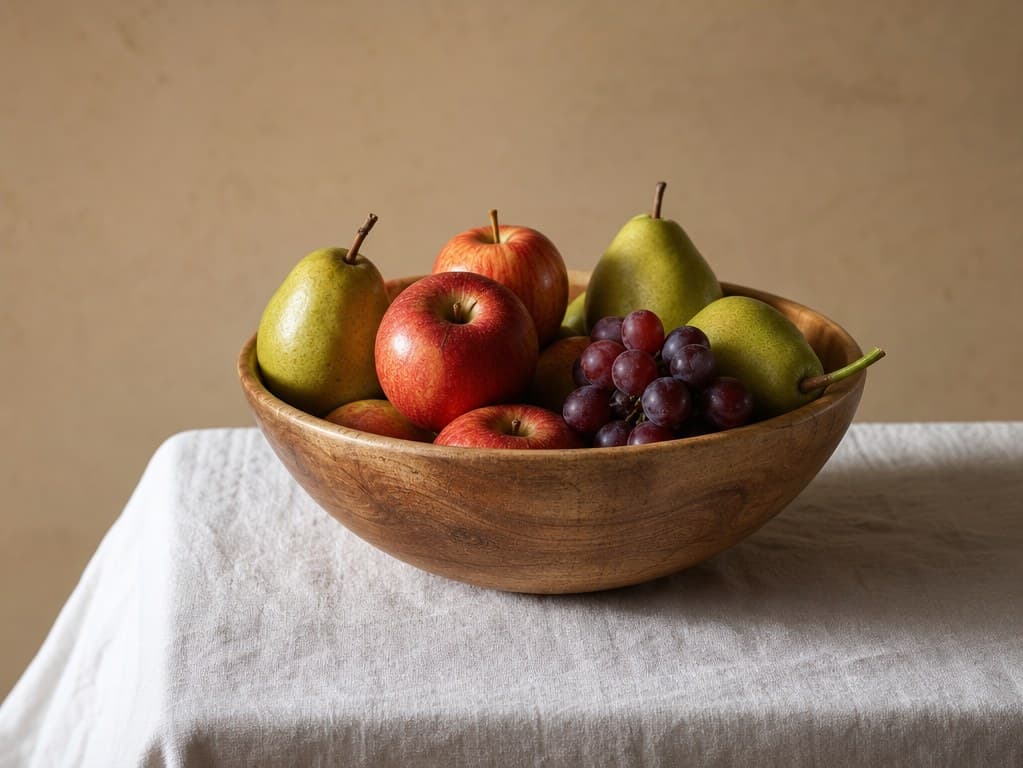
What you will need
Keep the kit small. You want an HB pencil for the construction lines, a kneaded eraser to lift those guides later, smooth hot press watercolor paper around 200 to 300 gsm, and a fine waterproof ink liner in the 0.3 to 0.5 mm range. The ink has to be waterproof, otherwise the lines will bleed and dull every wash you put down on top.
For paint, three watercolor pans carry this scene: a warm red such as alizarin or pyrrole for the apple, a yellow ochre or raw sienna for the pear, and a soft purple like dioxazine for the grape cluster. Add a neutral grey or sepia for the shadows. Two brushes are enough, a round size 6 for the body wash and a round size 2 for the accents. Round out the setup with a jar of clean water, a paper towel, and a small mixing palette.
Why we break this into nine stages
The nine-stage method exists because beginners almost always rush the structure and pay for it during the wash. By splitting the work into envelope, sub-shapes, refinement, curves, ink, shadow lines, and three wash layers, you only have to think about one decision at a time. Each stage is forgiving on its own. Treat the page like a calm routine rather than a single ambitious painting. The piece will appear in your sketchbook the same way it appears in any good fruit watercolor tutorial by a confident artist: piece by piece, with no rescue jobs needed at the end.
Stages 1 to 4: build the structure
These first four panels are pure construction. Light pencil only, no commitment, no pressure on the paper. If anything feels off in proportion or balance, you can shift it before a drop of ink lands. Resist the urge to refine details here. The goal is shape, not finish.
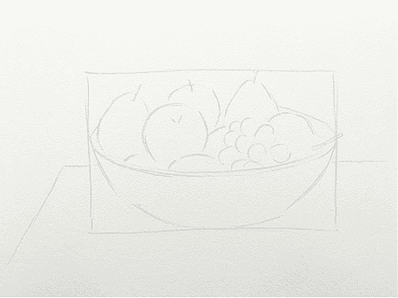
Start with the overall envelope. Lightly sketch the rectangle that the bowl, the tallest fruit, and the longest grape stem all fit inside. This is the largest decision you will make on the page, so use the side of your pencil and keep marks faint. Check proportions by eye against the reference. In this landscape layout the box should read a touch wider than tall, with the bowl resting roughly along the lower third.
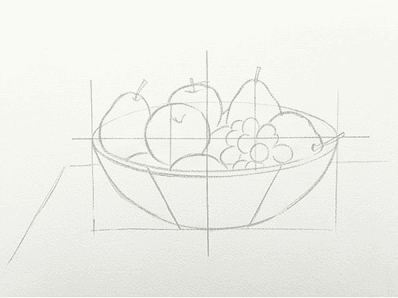
Now block in the bowl as one rounded mass and the three fruit clusters as simple circles and ovals inside that envelope. Find the bowl's vertical center axis with a single stroke. Mark where the rim sits in space and where the foot of the bowl meets the cloth. The grapes can stay as one squashed cloud at this stage, you will break them apart later.
Refine the proportions and start drawing the ellipses that define the rim and the base. The bowl rim is the most important ellipse in this picture, so take your time. Estimate how open or flat the ellipse is by squinting at the reference and matching the angle. The same logic applies to the small contact ellipse where the front apple touches the cloth.
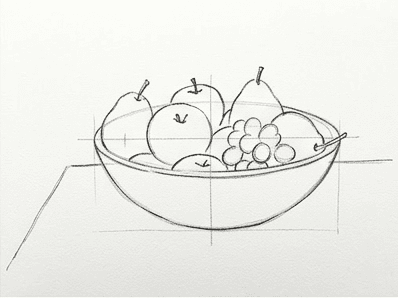
With the structure honest, draw the accurate curves of each fruit and the bowl silhouette. Replace the stiff oval grapes with overlapping rounded shapes and feel where the pear narrows from shoulder to hip. Keep pressure light. You are still in editable pencil, and stage 5 will deal with the inking.
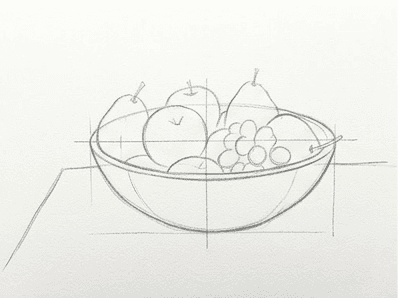
Stages 5 and 6: lock the lines in ink
Now the drawing earns ink. Pick up the fine liner and trust the structure you just built. If you skipped checking the rim ellipse in stage 3, this is where it shows, so a final squint at the reference before the first ink line is well worth a minute. Work outline first, then shadow outline, never the other way around.
Erase the heaviest pencil marks down to faint guides, then ink the outlines of bowl, fruit, stems, and the cloth fold under the bowl. Vary line weight as you go. Press a touch heavier where shadow rests against form, under the bowl and under each fruit, and lift lighter where the top of the rim catches the light and where each grape highlight sits.
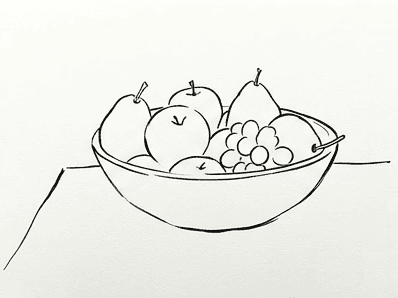
Ink the shadow outlines next. Mark the cast shadow shape on the cloth, the contact shadow under each piece of fruit, and the small curved shadow on the inside of the bowl rim. These shapes do not need to be perfect, only believable. They are the scaffolding for every wash layer that follows them.
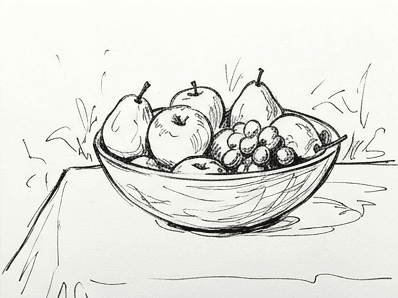
Stages 7 to 9: bring color and shadow
Time for paint. Loose ink and wash works best when you build value in transparent layers rather than mixing thick opaque color. Keep the brush slightly wetter than feels safe. Let each pass settle for a minute before the next one lands, otherwise the layers slide together and turn muddy across the page.
Lay the palest wash over each fruit in its local color. A diluted warm red over the apple, a yellow ochre wash over the pear, and a thin purple over the whole grape mass. Leave clean white paper highlights on the top of each piece. The bowl gets a single warm ochre wash, and the linen cloth picks up a tiny touch of cool grey near the cast shadow.
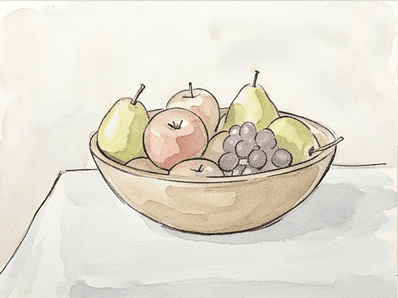
Add mid tone shadow washes while the first layer is still slightly damp. Drop a stronger version of each local color into the shaded side of every form. The grapes get a deeper purple on the underside of each sphere. The pear darkens into a soft green leaning ochre near its base. The bowl rim shadow takes a warm sepia rather than pure grey.
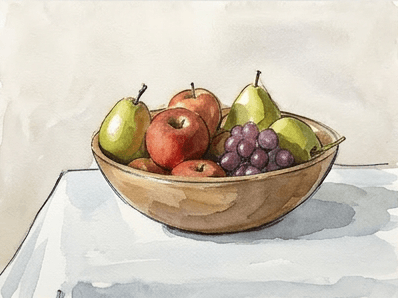
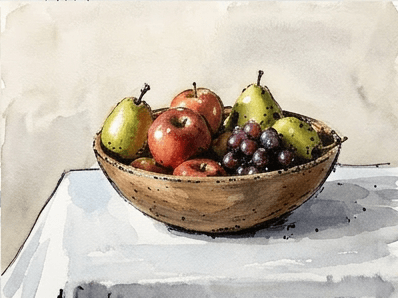
Finish with deep shadow notes and ink accents. Use a near black sepia or neutral grey for the cast shadow on the cloth and the cavity inside the bowl. Add a few dry brush ink dots and short lines where stems meet fruit, and reinforce the contact shadow under each grape. These final marks tell the eye where to land and where the painting carries the most weight.
Common mistakes
A handful of failure modes show up almost every time when learning how to draw a still life step by step. Spotting them early saves the page and the patience.
- Tilted ellipses on the bowl rim. The opening looks broken, like a hat brim seen from the side. Fix by redrawing the rim as a single arc with both axes reset to true horizontal.
- Floating fruit. The fruit sits inside the bowl on paper, but somehow reads as hovering above it. Fix by inking a darker contact shadow tucked right under each piece.
- Muddy wash. Too many wet layers, all loaded with pigment, blur into one brown tone. Fix by letting each pass dry before glazing only on the shadow side of the form.
- Equal line weight. Every ink line looks like every other ink line, which kills depth. Go back with the same pen and double the weight only where shadow meets form.
- Identical grapes. Each grape ends up the same size and spacing, so the cluster reads as a pattern. Erase the worst offender and redraw with one larger grape near the front for rhythm.
Practice prompts
Use today's setup as a base, then change one variable at a time. Single variable practice is how a short easy fruit painting session compounds into real skill over a week or two.
Move the light source from your left to your right and redraw stages 1, 6, and 9 only. The whole shadow side flips, and you train your eye to read direction faster the second time around.
Swap one fruit. Replace the pear with a lemon or a mango and notice how the new silhouette pulls the eye through the bowl. The same nine-stage process holds, but the value structure shifts because the local color does.
Push the still life loose ink and wash style toward monochrome. Use only sepia ink and a single grey wash. The piece will look like a quiet page lifted from a sketchbook, and your value structure will be immediately legible without any color noise.
A bowl of fruit looks simple from the outside, which is exactly why it is the studio exercise every artist keeps returning to. Build the envelope, refine the ellipses, ink with intent, wash in transparent layers, and finish with shadow. If you want this same nine-panel workflow running on a photo from your own kitchen, the Learn to Draw app on iOS and Android turns any picture you take into a custom reference grid, so tomorrow morning you can practice on your own bowl, your own light, and your own fruit.

