How to Draw a Rabbit Step by Step: A Beginner Pencil Guide
Learn how to draw a rabbit step by step in pencil with a clear nine stage progression covering body proportions, ears, fur texture, and shading.
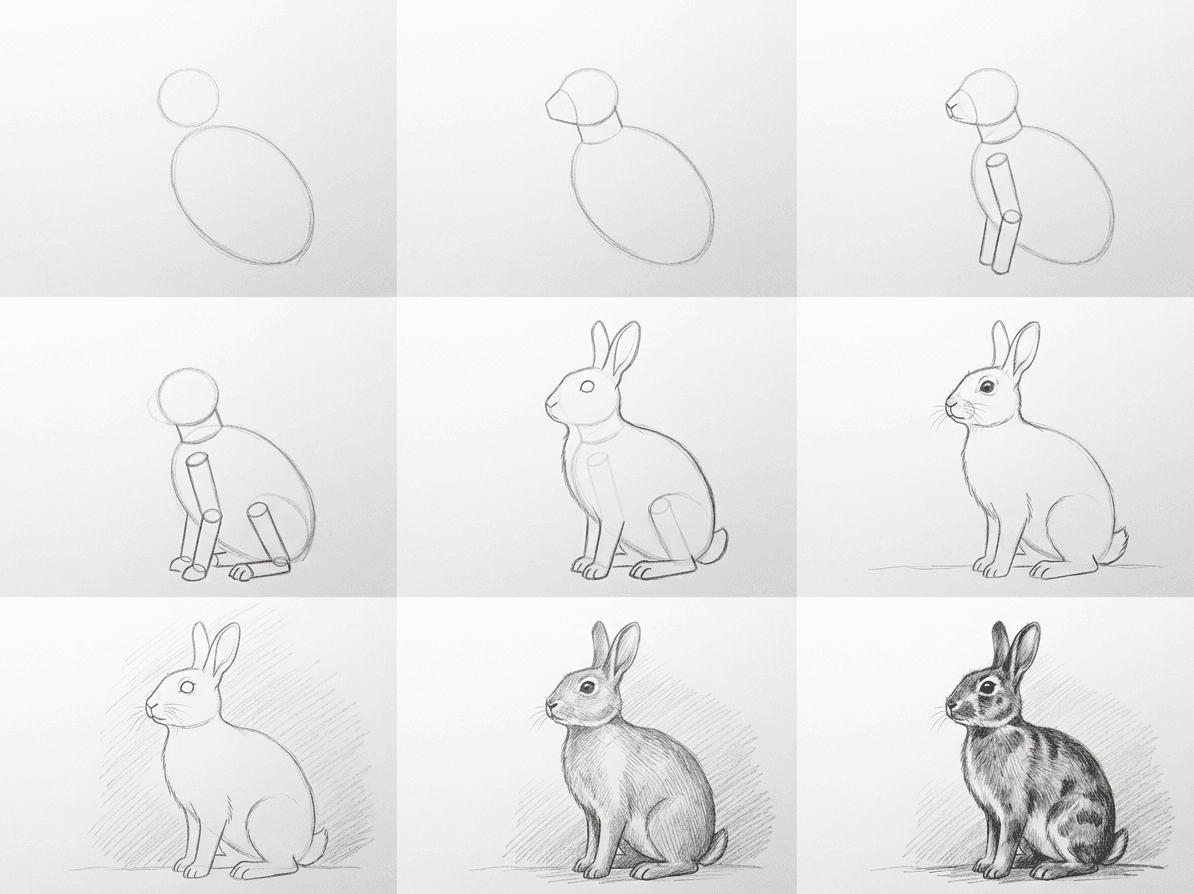
A sitting rabbit is a friendly first animal to draw, because the silhouette is round, the fur is forgiving, and the pose holds still in your reference photo. This guide walks you through how to draw a rabbit step by step using a calm nine stage pencil method that builds confidence one shape at a time. By the end you have a finished sketch that reads as a real rabbit on grass, not a vague oval with two ears. Most beginners finish a clean attempt in about an hour.
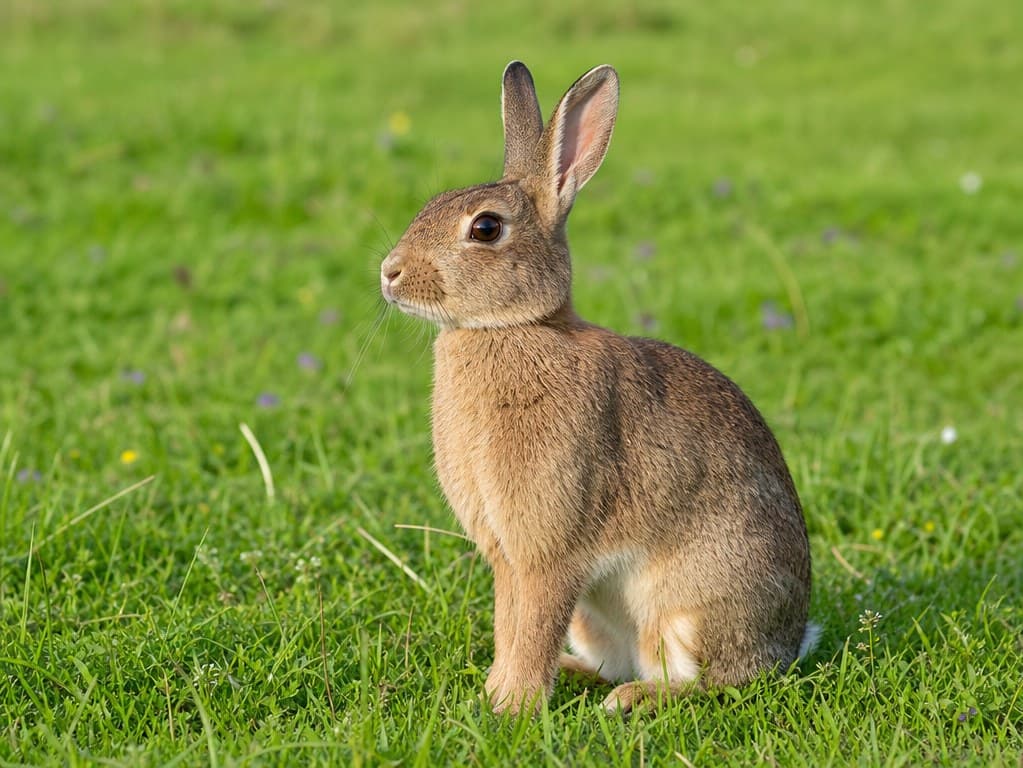
What you will need
Reach for an HB pencil for the construction lines, a 2B for the first shading pass, and a 4B for the darkest fur accents and the eye. A single 2B can carry the whole drawing if it is all you own, just keep your hand light through the early stages. A small sharpener with a clean catcher will spare your page from the rogue lead chip that always lands on the worst possible part of an early sketch.
Use medium tooth sketch paper around 120 to 160 gsm so your line holds without tearing under the kneaded eraser in stage six. A kneaded eraser lifts graphite without crumbs, and a small precision eraser is useful for a clean catchlight in the eye. Keep a clean scrap strip nearby to test your pencil pressure, since pressing too hard early on locks in lines you cannot lift later without scarring the paper surface.
Why we break this into nine stages
Construction lines look slow on paper, but they are the fastest path to a rabbit that actually looks like a rabbit. Each of the nine stages locks down one decision before you commit to the next, so you never have to fix two things at once. By stage six the structure is finished, and stages seven, eight, and nine are about confident tone on a frame you already trust. This is the same beat used by every dog drawing tutorial for beginners that does not leave you staring at a tangled mess after twenty minutes.
Block in the body and head
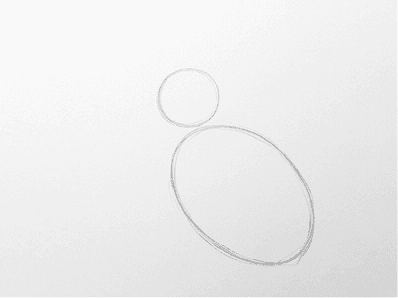
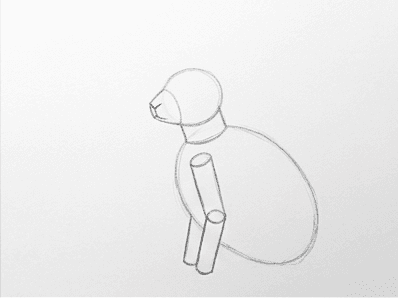
Begin with two ovals, one large for the body and one smaller for the head. The body oval sits a touch wider than tall, since a sitting rabbit hunches forward and tucks its hind legs underneath. Place the head oval high and slightly forward of center on the body, leaving a small overlap that will become the chest. Keep the pencil so light you can wipe the line with a finger, because everything from here on will be redrawn on top of these masses.
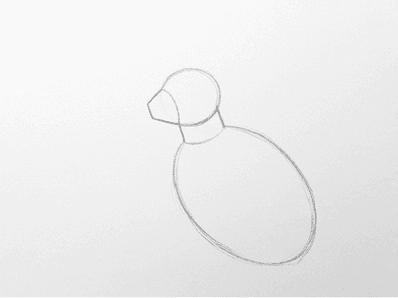
Drop a short curved line under the head to suggest the underside of the jaw, then connect head and body with a soft S that becomes the back of the neck. Add a small wedge at the front of the head for the muzzle, angled slightly downward as if the rabbit is calmly looking out across the grass. Keep these shapes simple and blocky; you are mapping where things sit, not how they look. The temptation to add detail this early is the single biggest cause of crooked rabbits.
Add the limbs
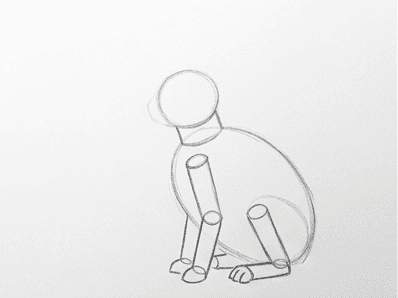
Sketch two narrow cylinders for the front legs, anchored where the chest meets the body oval. The front paws are short and tucked close to the line of the chest, not splayed out like a cat in mid stretch. Suggest the elbow with a tiny dot at the top of each cylinder. These are construction marks; they will disappear under the fur contour later, so leave them faint and visible only to you. Keep both cylinders the same width so the rabbit does not lean.
The back legs are the visual anchor of a sitting rabbit. Block in a large soft oval for the upper thigh that overlaps the body, then add a smaller oval running down to the foot. The rabbit foot is long and rests flat on the ground, so leave plenty of horizontal room. Mirror the same construction on the far side, even if the far foot will only peek out as a thin sliver in the final drawing. Knowing where it sits keeps the pose from feeling lopsided.
Shape ears, face, and ground
Sketch two tall ovals straight up from the top of the head for the ears. Real rabbit ears run roughly the same length as the head itself, sometimes a touch longer, and they taper gently to a rounded tip. Add a small cotton puff for the tail at the rear of the body oval, sitting low. Now soften the outline of the whole animal, following the construction shapes loosely, dipping in along the back and bumping out across the shoulder and the haunch so the silhouette stops feeling like an assembly of ovals.
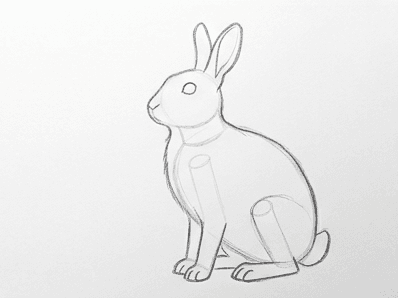
Place the eye about halfway up the head, set forward toward the muzzle. A rabbit eye is large, round, and dark, with the iris filling most of the visible area. Drop a small triangular nose at the tip of the muzzle and a short Y line beneath it for the mouth split. Add a single long horizontal line across the lower third of the page for the ground. This grounding line costs you five seconds and saves the rabbit from looking like it is floating in white space.
Build tone and final darks
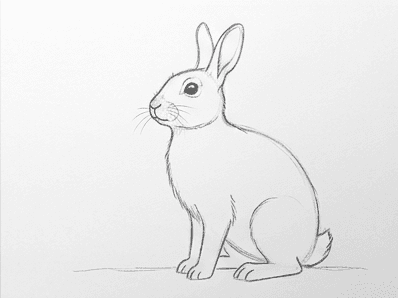
Switch to a 2B and lightly shade a soft tonal field behind the rabbit. The background does not need detail, just enough graphite to push the white silhouette forward. Lay a darker patch directly under the body for the cast shadow, broader at the base and softer at the edges. Use the side of the lead and a relaxed hand. If the background tone looks too uniform, sweep across it once with a clean tissue to feather the edges and break up any banding.
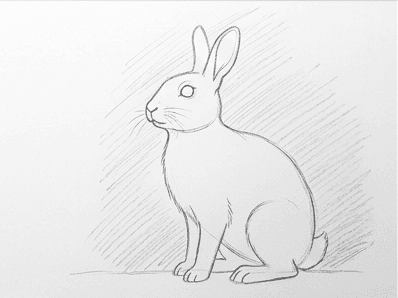
Pick the side of the rabbit that faces away from the light source and lay a layer of light directional hatching across it. Run your strokes following the curve of the form, not straight across the page. The belly, the underside of the chin, and the back half of the haunch all carry the same shadow value. Keep the front of the chest, the top of the back, and the upper face mostly clean so the light reads as soft spring sunshine rather than a flat overcast wash.
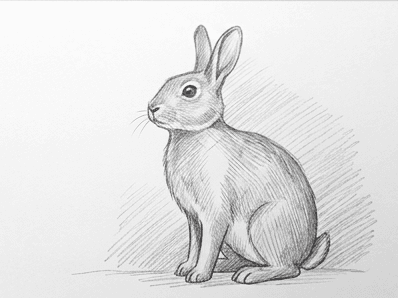
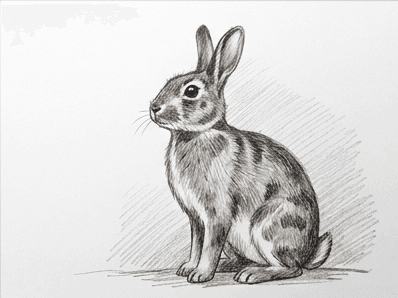
Sharpen the 4B and place your darkest accents last. The pupil, the line where the back leg tucks against the body, the inside fold of each ear, and the contact shadow where the foot meets the ground all take a confident dark mark. Hint at the whiskers with two or three light lines springing from the muzzle, then stop. A rabbit drawing is finished when the darkest values feel earned, not scattered. Step back, give it a minute, and trust that less is almost always more at this stage.
Common mistakes
A handful of small errors show up in almost every first rabbit, and each has a quick recovery you can run before the page is finished.
- Stilted ears glued straight to the head: redraw the base of each ear with a small notch where it meets the skull, so the ears look set into the fur rather than balanced on top.
- A bloated body that loses the crouch: erase the lower belly line and bring it up slightly, then re sketch the hind paw closer to the body so the silhouette feels gathered.
- Flat black eyes with no life: lift a small dot inside the pupil with the corner of a kneaded eraser to reset the catchlight, then redarken the rest of the eye around it.
- Whiskers that look like wires: keep them few, faint, and slightly curved, and lift any that look too rigid with a single tap of the eraser before darkening the area around them.
- An over shaded background that swallows the rabbit: gently roll a kneaded eraser across the upper third of the background to lift the tone back, since contrast at the silhouette is what sells the form.
Practice prompts
Once you have one rabbit on paper, repeat the same nine stages with a small variation, since repetition with one change is what locks the workflow into long term memory.
- Draw the same pose in a three quarter view rather than full profile, and notice how the head oval has to overlap the body more aggressively to keep the perspective honest.
- Try a lop eared rabbit with the ears falling beside the head, which forces you to rethink the silhouette entirely and pushes the bunny drawing tutorial workflow into new territory.
- Sketch a small kit grazing in the grass, half the size of an adult, and treat this easy rabbit sketch as a study in how short legs change the read of the whole animal.
The biggest gain you can make on a small animal drawing like this is to repeat the construction stages until the whole shape lands in under five minutes. From there, every later attempt becomes mostly a question of fur tone and confident accents, which is the easier and more enjoyable half of the work. If you would like a guided version of this same nine stage system on your own reference photos, the Learn to Draw app on iOS and Android walks you through each step with prompts, timers, and a side by side reference panel.

