How to Draw a Teapot in Watercolor: A Step by Step Guide
Learn how to draw a teapot in loose ink and watercolor with a clear nine stage progression covering ellipses, curves, washes, and shadow accents.
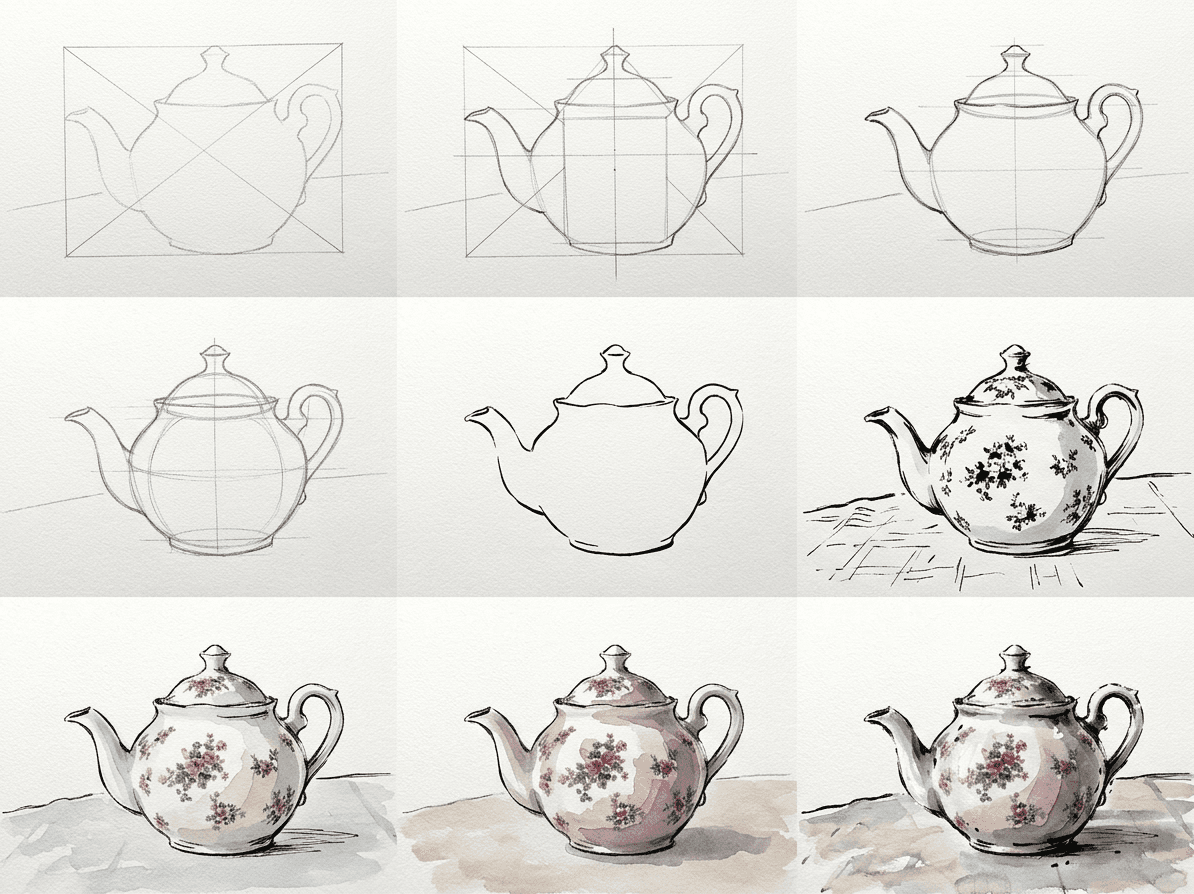
A porcelain teapot is one of the friendliest still life subjects you can pick up. It has a clear silhouette, a calm surface, and just enough geometry to test your eye without overwhelming you. This guide shows you how to draw a teapot in a loose ink and watercolor style across nine short stages. You will move from a rough envelope to crisp ellipses, then add washes that build form without muddying the paper. Most people finish a clean attempt in about an hour.
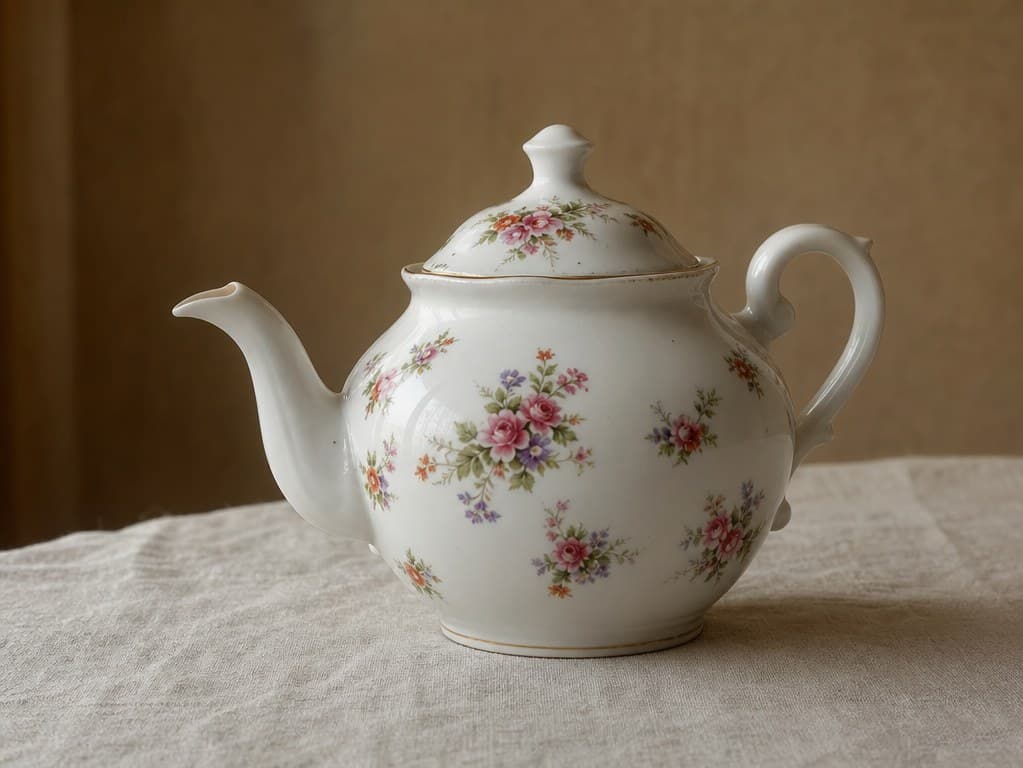
What you will need
Pull together an HB pencil for the layout, a kneaded eraser for clean lifts, and a fineliner pen in either 0.3 mm or 0.5 mm for the inked outline. A small round watercolor brush in the size 4 to 8 range will carry every wash in this teapot watercolor tutorial. Cold press 200 gsm paper holds water without buckling and lets a wet edge dry slowly, which is what gives watercolor that calm glassy look.
Your palette only needs three pans. A warm grey for the shadows, a soft ochre or burnt sienna for the warm half of the body, and a cool diluted blue for the back curve. Keep two cups of clean water and a paper towel within easy reach. The towel is for taming a brush that holds too much pigment, which is the single most common cause of muddy washes for beginners.
Why we break this into nine stages
Construction lines feel slow, but they are the fastest path to a clean teapot. Each of the nine stages locks down one decision before you commit ink or color, so you never have to redo two things at once. By stage five the drawing is essentially finished, and stages six through nine are about painting confidently on top of a structure you already trust. That is the heart of any easy still life painting workflow, and it is what keeps the page calm.
Build the construction lines
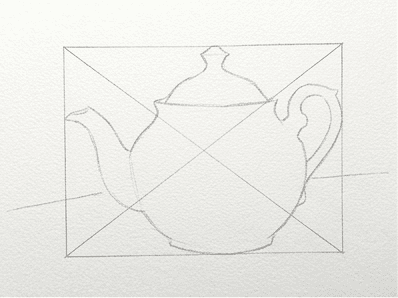
Start by sketching a flat oval that hugs the widest part of the body and stops where the spout begins. Add a small rectangle on top for the lid and a tilted oval to suggest where the spout will exit. You are looking for the silhouette only, not detail. Keep your line so light it can be wiped with a finger, since you will redraw on top of it twice before any ink lands.
Drop a vertical axis line down the center of the body and a horizontal line where the lid meets the rim. These two lines are your insurance against a teapot that tilts. Sketch a soft cylinder for the spout, a flat C for the handle, and a small dome for the lid finial. The shapes should look like a child's first teapot, blocky and obvious, since that is exactly the level of commitment you want at this stage.
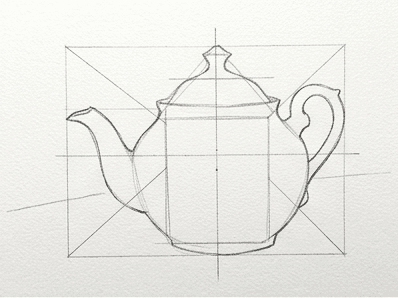
Compare the height of the body to its width. A classic round teapot reads correctly when the body is about one and one quarter times as wide as it is tall, measured below the lid. Tilt the ellipse axes so the top opening matches the rim of the lid and the base ellipse matches the table. Keep both ellipses parallel, since if they diverge, the teapot will look as if it is leaning out of the page.
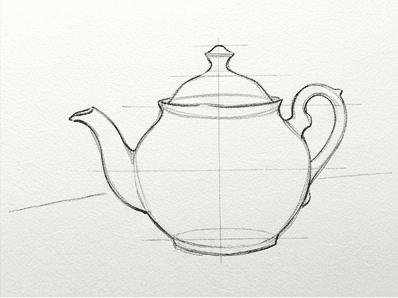
Replace your earlier straight blocks with the real curves. The spout should leave the body in a smooth tangent, then swing up so its tip ends roughly level with the lid. The handle is a soft S shape that mirrors the spout in visual mass. Take a few seconds to look at the drawing from a few feet away. A small adjustment now saves a lot of grumbling once the ink is down and the curves are permanent.
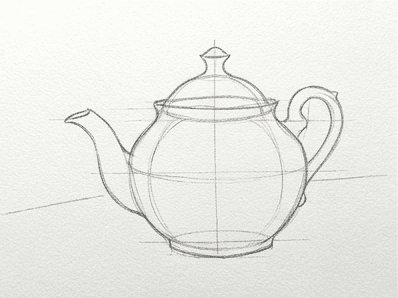
Switch to ink
With the structure landed, gently lift any heavy pencil with a kneaded eraser, then commit your outline with the fineliner. Use one steady stroke per contour rather than a scribble of short tentative strokes. The character of loose ink and wash still life work comes from these confident lines, and the eye forgives a slight wobble far more than it forgives a hesitant line. If your hand shakes, slow the pen and breathe out as you draw.
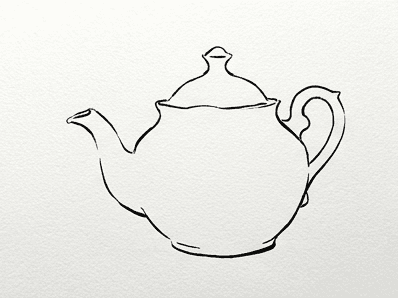
Sketch a faint boundary around each shadow shape using the same fineliner. You are not filling these in, only marking where the wash will live later. Think of three shadow zones: the underside of the lid, the back half of the body, and the cast shadow on the table. Loose ink and wash still life painting relies on these guide lines to keep your washes honest, since you will be working quickly and want a clear target for every brushstroke.
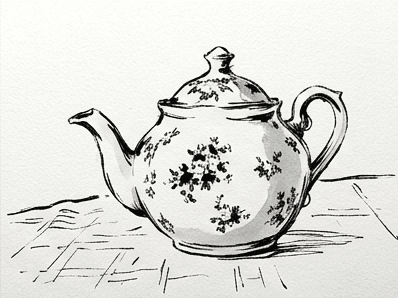
Layer the watercolor
Mix a very dilute warm grey, almost the color of weak tea. With your round brush loaded but not dripping, run a single pass over the back of the body, the underside of the spout, and the inside of the handle. Leave the highlight strip on the body completely dry. This first wash should look almost too pale to register. It will gain perceived depth as the later layers settle on top of it.
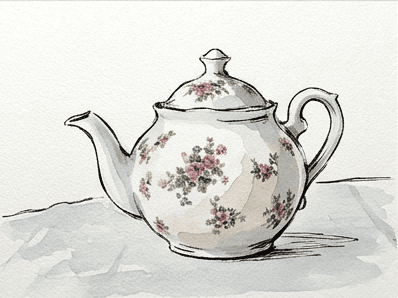
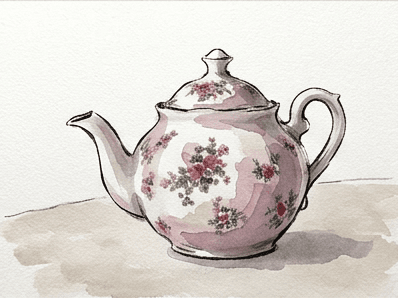
Once the first wash is dry to the touch, drop a slightly stronger mix into the shadow shapes only. The underside of the lid takes a wash with a hint of cool blue. The cast shadow on the table needs more pigment than you would expect, but it also needs a soft outer edge. Tilt the paper slightly so the wash pools toward the darker side, then leave it alone and let it dry without fussing.
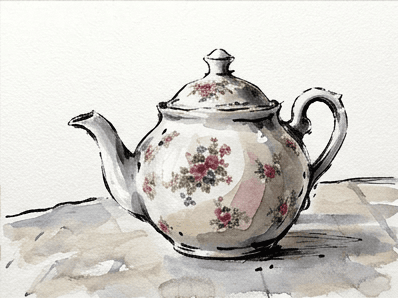
The final stage is the smallest one. Wait for the paper to be fully dry, then use the tip of the fineliner to add a few short hatches in the very darkest pockets. Hint at a reflection inside the lid rim, a sharp dot for the finial shadow, and one thin line along the base where the teapot meets its cast shadow. Stop the moment the form feels resolved, because any more marks will start to flatten the wash.
Common mistakes
A few mistakes show up in almost every first attempt at this subject, and each one has a quick recovery you can run while the page is still wet.
- Lopsided ellipses: fix by redrawing both halves around your vertical axis, then rotating the page after each ellipse to spot the asymmetry the upright view hides.
- A spout glued flat to the body: draw a faint dotted line that continues the body curve under the spout, then let your real outline deviate from it only where it must.
- A handle that floats off the page: anchor it with a quick shadow line where it joins the body so the handle and the body share the same plane.
- Muddy washes: prevent this by always letting a layer dry before the next; if a muddy patch does appear, lift it gently with a damp clean brush and a paper towel before it sets.
- Over inked accents at the end: if stage nine starts to feel busy, stop, walk away for two minutes, then come back and decide whether each mark is truly earning its place.
Practice prompts
Once you have one teapot finished, repeat the same nine stages with a small variation, since variation is what locks the workflow into long term memory.
- Draw the same teapot from above, framing only the lid and the top third of the body, and notice how the ellipses flatten dramatically as the camera angle drops.
- Swap to a tall modern teapot with a long straight spout, then push the warm grey wash a little cooler so the surface reads as glaze rather than soft porcelain.
- Sketch a small kettle on a stovetop with steam suggested by a single dry brush stroke, since learning to draw a kettle step by step uses the same construction logic as this teapot.
The biggest gain you can make as a still life artist is to repeat a friendly subject like this one until the construction stages take less than ten minutes. From there, every later attempt is mostly about color confidence, and you will start to enjoy the quiet hour each session asks of you. If you would like a guided version of this same nine stage system on your own reference photos, the Learn to Draw app on iOS and Android can walk you through each stage with prompts, timers, and a side by side reference panel.

