How to Draw a Waterfall in Watercolor: A Loose Nine-Step Guide
Learn how to draw a waterfall with loose ink and watercolor in nine forgiving stages that cover cliffs, falling water, foliage, and the pool below.
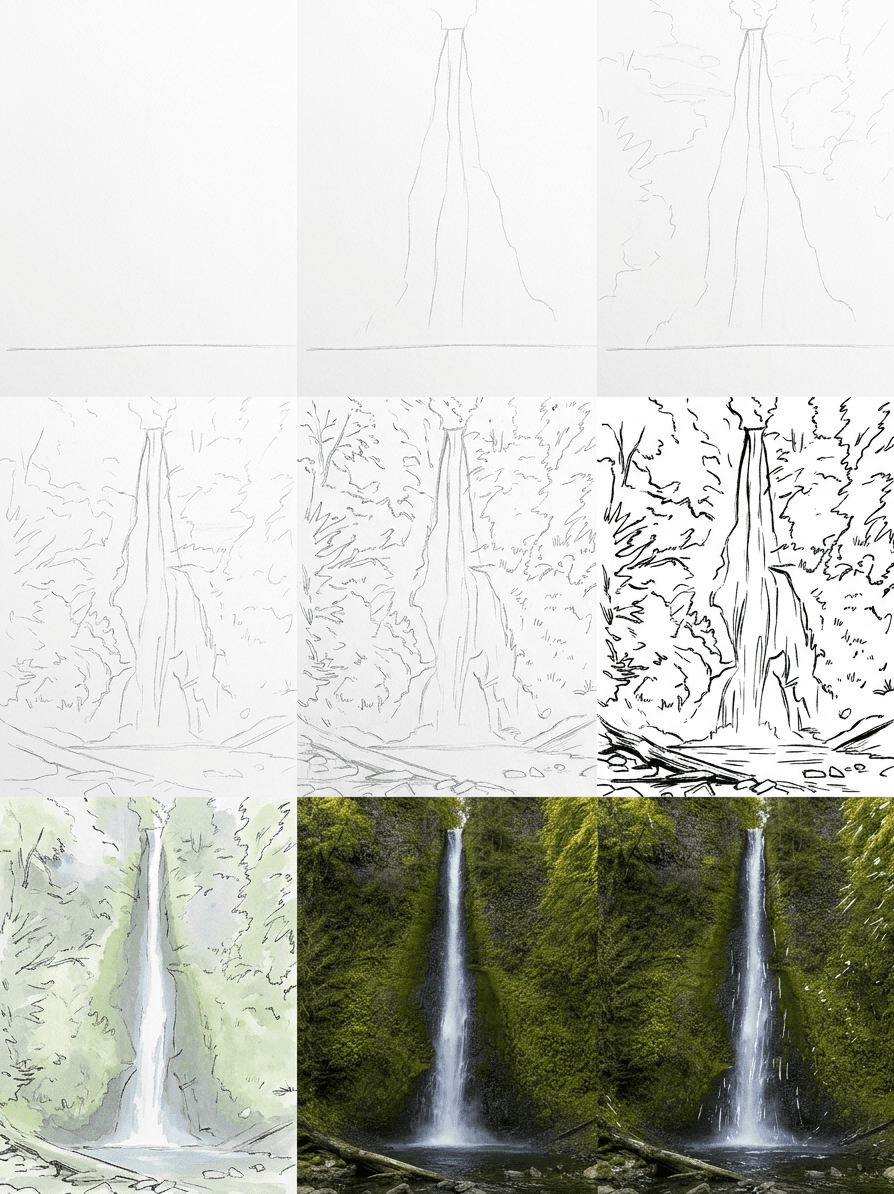
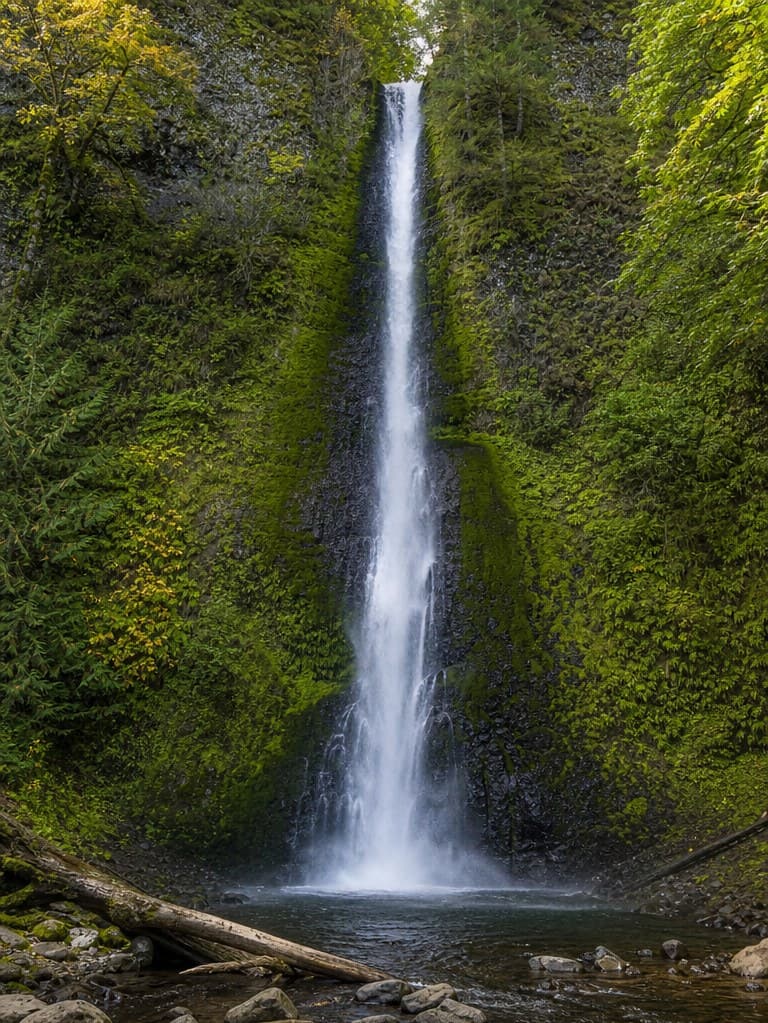
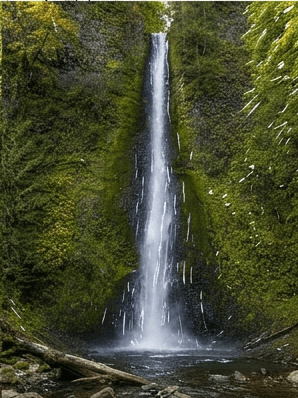
A tall waterfall looks intimidating on paper because most of the subject is empty space. Once you learn how to draw a waterfall as a few clean landforms plus a single bright ribbon of water, the scene becomes far easier than it appears. This guide walks through a calm, repeatable waterfall watercolor tutorial in nine stages, from the first soft pencil mark to the last ink accent on the wet stones below. The reference shows a narrow cascade dropping into a mossy forest pool, which is the easiest waterfall shape to draw because the cliffs do most of the framing for you.
What you will need
Reach for a 2H pencil for the very first layout lines and an HB if you want slightly darker construction marks later. Anything harder than 2H scratches the paper, which will show under your washes. A kneaded eraser lifts graphite without bruising the surface, which matters once you start painting on top.
Cold press watercolor paper around 300 gsm is the easy choice for this subject. It takes two or three layers without buckling, and the slight tooth catches ink lines cleanly. A short palette of sap green, payne's grey, and a touch of burnt sienna is enough to mix every value you need for foliage, wet rock, and warm wood at the base of the falls.
For the ink line, use a waterproof fineliner around 0.3 mm or a dip pen loaded with permanent black ink. A round watercolor brush in size 6 covers the broad washes and a smaller size 2 handles the accents. Round out the kit with a clean water jar, a paper towel, and a flat working surface so the pigment settles where you put it.
Why we break this into nine stages
The nine-step method exists so you never have to fix a finished painting. Each stage commits to one decision: where the pool sits, where the cliffs rise, where the canopy hangs, and so on. You can stop at the end of any stage and the work still reads as a confident, intentional nature sketch rather than a half-built scene.
This is what makes the construction-line method beginner-safe, and it is what turns a waterfall from a wall of choices into a short list of small ones. Most failed waterfall sketches happen when the artist tries to commit to ink on first contact with the paper. By building the structure in five soft pencil stages, you give yourself permission to be wrong four times before any permanent mark lands.
Stage 1, place the horizon and water target
Start with a single light pencil line about two-thirds down the page. This becomes the lip of the forest pool and sets the scale of the whole scene. Mark a small vertical tick near the center of that line, where the falling water will land. That tick is your target for everything that follows.

Stage 2, add the largest landform
Now sketch the two cliff walls that frame the water. Treat each side as a soft trapezoid that tapers gently as it rises. Keep these outlines whisper-light because you will erase most of them later. The narrow gap between the walls is the path of the falling water, so check that the gap stays roughly the same width from top to bottom.
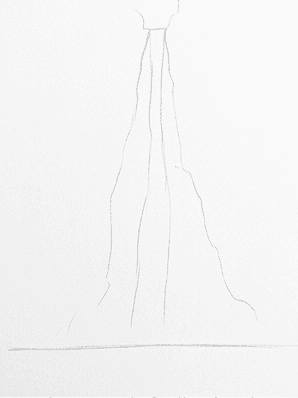
Stage 3, add the secondary background
Place the dense band of foliage at the top of the frame and along the upper edges of the cliffs. Use loose cloud-like outlines rather than individual leaves. This band reads as the canopy that grows over the falls and softens the hard top edge of the rock. Let the foliage dip slightly toward the center, which hints at trees leaning into the gorge.
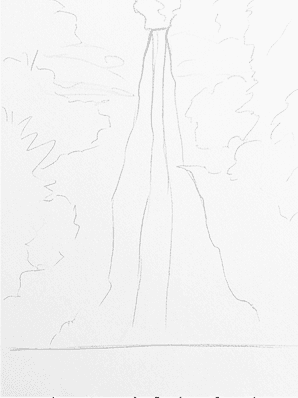
Stage 4, add remaining background detail
Sketch the moss and small plants that cling to the cliffs themselves. Draw scattered ovals across the rock face, heavier on the shaded side, lighter on the lit side. These shapes will read as moss patches once color goes down. Mix in a few thin verticals to suggest hanging vines, but keep them few in number, three or four total.
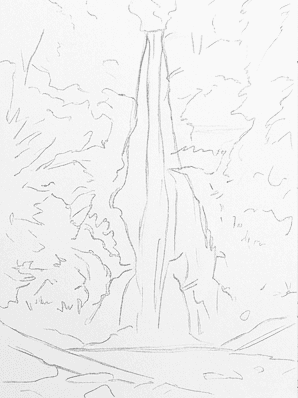
Stage 5, anchor the foreground
Drop in the foreground rocks, the still pool, and any fallen log along the bottom of the page. A horizontal log running across the lower left is a classic anchor that pulls the viewer's eye into the scene. Keep the rocks as simple rounded shapes for now, and make sure the log overlaps at least one rock so the pool gains a sense of depth.
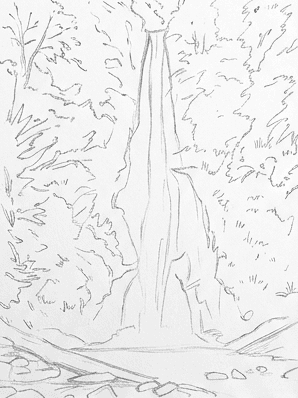
Stage 6, lift the pencil and lay the ink
Press a kneaded eraser onto the page rather than rubbing, so the surface stays smooth. Once the pencil is faint, commit to a loose ink line over the largest contours. Vary your pressure and let the line skip in places. A waterfall sketch with too clean an outline always reads stiff once the wash arrives.
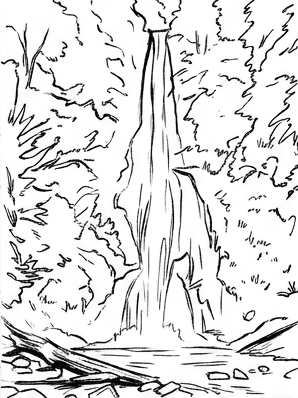
Stage 7, lay the palest wash
Mix a watery sap green for the foliage and a watery payne's grey for the cliffs. Lay each color in broad, simple washes. Leave the entire water column completely untouched white paper. A waterfall needs the brightest value in the scene to be the falling water itself, which means saving the white from your very first wash forward.
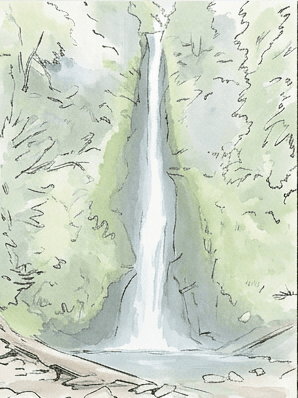
Stage 8, build the mid-tone local color
Once the first wash is fully dry, mix slightly thicker pigment for each area. Deeper green sits in the foliage shadows, slate grey covers the wet rock, and a touch of burnt sienna warms the log and a few stones at the base. Drop these tones in while the paper is barely damp so the edges feather rather than line up sharply.
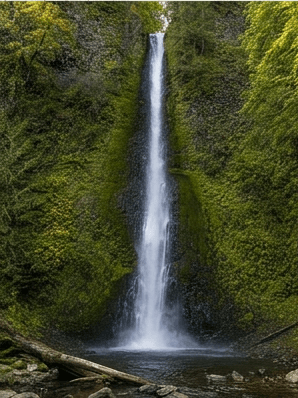
Stage 9, deepen shadows with ink accents
Finish with a few targeted ink accents. Add short broken strokes inside the darkest cracks in the rock, along the underside of the log, and across the small gap where the water meets the pool. A handful of these marks reads as full detail in a loose ink and wash landscape, even though almost no paint has moved since stage eight.
Common mistakes
A waterfall painting fails in a few predictable ways. Once you can name the pattern, you can catch each one early instead of repainting a whole page.
- The water column ends up grey because pigment crept in during stage seven. Keep a clean wet brush ready to lift any accidental wash the moment it hits the white channel.
- The cliffs feel cardboard-flat because the moss sits in tidy rows. Dab a paper towel along the rock face to soften the moss clusters, then drop irregular green spots back in.
- The foliage above the falls reads as a single dark wall. Cut light shapes into it by lifting paint with a damp brush before the wash dries.
- The ink line fights the watercolor instead of supporting it. Thin your ink with a wet brush, or only ink the largest five or six contours rather than every shape you sketched.
- The pool at the base looks flat. Add a few horizontal slivers of clear reflection at the surface, never a full mirror of the cliffs above.
Practice prompts
When this scene clicks, lock it in by drawing the same construction with a single small change. The repetition is what teaches the eye to draw a waterfall step by step without thinking about which stage comes next.
Try a wider waterfall first, where the water dominates the cliffs instead of the other way around. The construction lines stay the same, but the negative space switches roles and your white-saving discipline gets a real workout. Try the same falls in late afternoon light next, with warm gold across the upper canopy and cool blue in the cliff shadows.
Finally, try a smaller cascade with three stepped drops. That forces you to repeat the ribbon-of-water technique in miniature, three times across one page. It is the fastest way to internalize where to leave white paper and where to let the wash carry on across the rock.
Bring it back to your own photos
Each pass through this nine-step waterfall sketch gets faster. The first time, you may spend half an hour on the pencil block-in alone. By the fourth or fifth attempt, the cliffs and foreground come down in five minutes, leaving most of your session for the wash. If you want this same construction-line workflow on a waterfall photo from your own camera roll, drop the image into the Learn to Draw app on iOS or Android and it will generate the same nine reference panels in the style you choose.

