How to Draw a City Street in Ink and Watercolor: A Step by Step Guide
Learn how to draw a city street in ink and watercolor with a clear nine-stage progression that handles perspective, building masses, and finish washes.
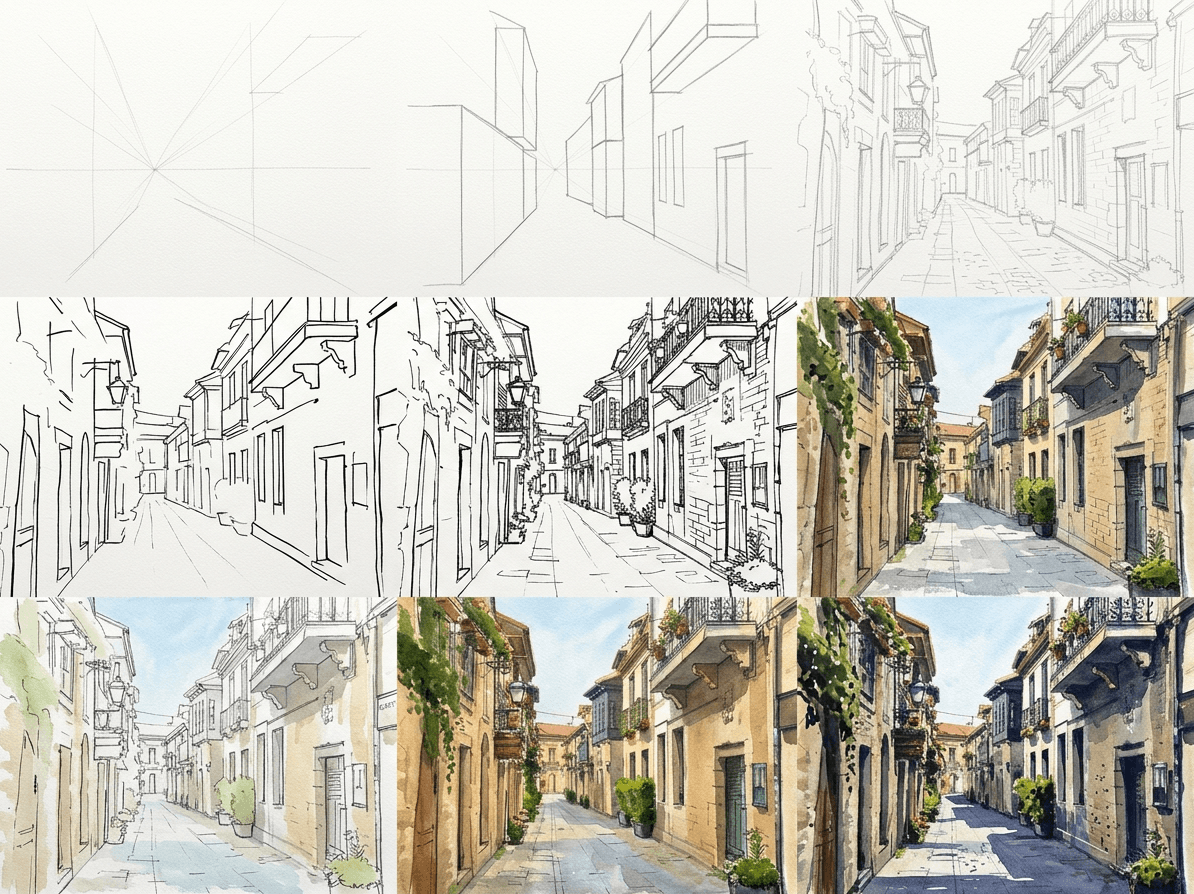
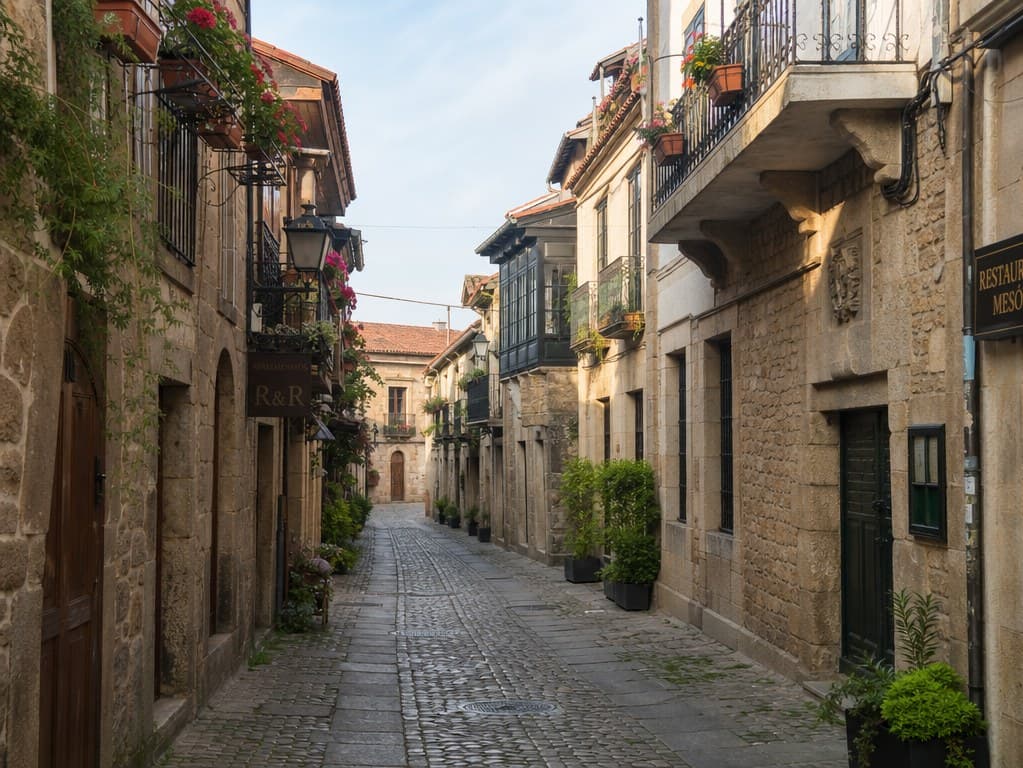
A narrow European street, stone townhouses leaning toward each other, balconies dripping with geraniums, and afternoon light skimming worn cobbles. That is the scene in front of you today. This guide walks you through how to draw a city street using loose ink lines and three quick watercolor washes. Nine clear stages move you from a single horizon line to finished color, and the whole piece fits comfortably into one focused afternoon at the kitchen table with a small palette and one trusted sketchbook.
What you will need
A hardback sketchbook with paper rated for light washes is the safest base, around 200 gsm or heavier. Cold press cotton is luxurious, but a cheap mixed media pad works for practice. Tape the page down on all four sides so it cannot buckle later when you flood color across the wash areas.
For drawing, an HB pencil sets the structure without bruising the paper, and a kneaded eraser lifts those lines cleanly before ink touches the page. For ink, pick a fineliner you trust in sizes 0.1 and 0.3, or a fountain pen loaded with waterproof ink. Test the ink against a small water swatch first to confirm it stays put.
A small travel palette with six pans covers this scene: a warm yellow, a quinacridone rose, a cobalt or ultramarine blue, raw sienna, burnt sienna, and a neutral grey or sepia. One round brush around size 6 does most of the work, with a smaller size 2 reserved for window frames, café signage, and any tiny figures.
Why we break this into nine stages
The construction line method is the safest path through a busy subject. Each of the nine stages adds one new layer of decision: first the page geometry, then the masses, then the perspective grid, then refinement, then ink, then color in three steady passes. You never juggle ten choices at once. If a stage feels rough, you can pause, breathe, and adjust before the next layer locks it in. This rhythm is also why a loose ink and wash architecture sketch tends to look fresh: the paint sits on a calm, prepared drawing.
Start with the page taped flat and your HB pencil sharpened to a long point. Draw a light horizon line about a third of the way up. Place a single vanishing point on that line, slightly off center, where the cobbles meet the far end of the street. Then sketch a loose rectangular envelope around the whole composition to remind yourself where the scene stops. Keep every mark feather soft so the eraser can lift it later without a fight.

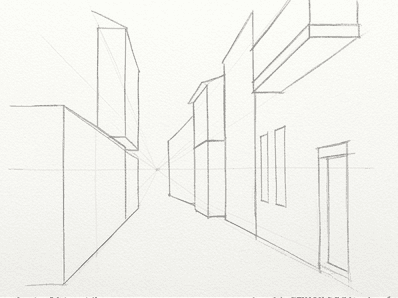
Block in the two largest buildings on each side of the street with simple boxes. Treat each townhouse as a brick of soap floating above the cobbles. The block on the left is slightly taller, the one on the right tucks back a little. Lay both rooflines so they tilt down toward the vanishing point. You are not drawing windows yet, you are stating the volume of stone that will catch the afternoon light.
From the vanishing point, fan out faint guidelines toward the four corners of the page. These rays catch the rooflines, the top and bottom of window rows, the line where each wall meets the cobbles, and the receding edge of a balcony. Use only two or three rays per surface, more than that and the page looks like a spider web. The goal is a reliable scaffold for the next refinements, not a finished diagram in its own right.
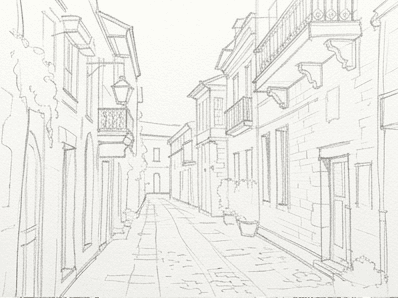
Now plug in the smaller pieces: shop awnings, a tucked balcony, a chimney pot, a planter, the curb where the cobbles step up to the sidewalk. Keep the marks soft. If the right building needs a small ground floor doorway, place it now. Add the gentle dip of the cobbled street where it crowns slightly in the middle to drain rainwater. These are the small landforms that make a street feel walked in rather than freshly built.
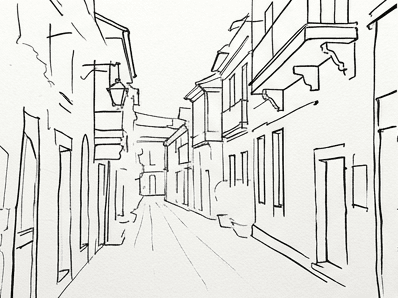
Lift your pencil work with the kneaded eraser until it is barely visible, then commit to ink. With your 0.3 liner, trace the rooflines, the corners of each building, the curb edge, and the line where the cobbles meet the far walls. Vary the pressure a little. Skip any joint that should sit in deep shadow later, the wash will read better with an open contour than a perfectly closed one.
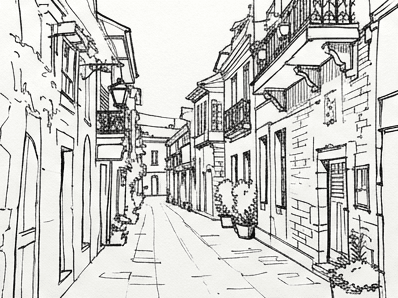
Swap to your 0.1 liner and add the smaller marks: window divisions, shutter slats, hanging plants on the balconies, a string of café lights, lamp brackets, a doorframe step. Suggest cobblestones with short broken arcs that grow tighter near the vanishing point. Do not draw every stone, your hand will tire and the page will choke. A few clusters and a hint of pattern give the eye what it needs to fill in the rest.
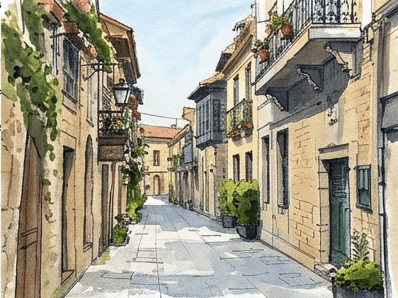
Mix a very pale wash of raw sienna with a touch of rose, almost like weak tea. Wet each wall area first with clear water inside the ink outlines, then drop the warm wash in. Let it pool unevenly along the bottom of each wall where moisture would gather. Leave the sky as bare paper for now. This first wash is just a whisper of warmth, a foundation under everything else. Step back and squint to confirm the value still feels soft.
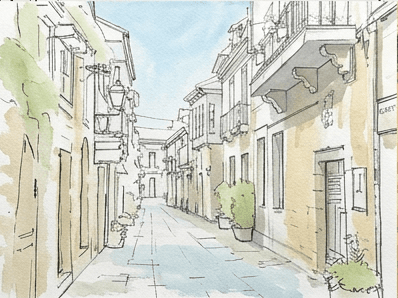
Once the first wash is bone dry, layer in the real local colors: a dusty ochre on the left wall, a soft terracotta on the right, a cool grey wash on the cobbles, a pale cobalt across the strip of sky. Mix each color a touch greyer than what the photo shows, because paint always reads brighter on white paper. Keep a clean damp brush nearby to soften any hard edge that wants to creep into the middle of a wall.
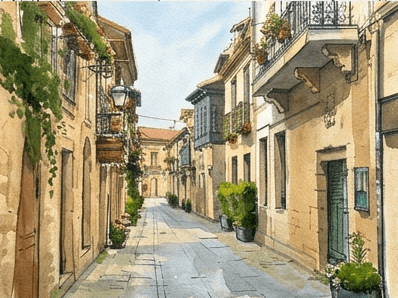
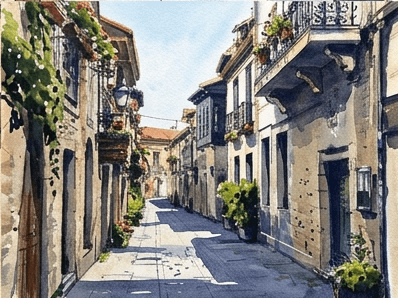
Finish with the darkest pass: deep sepia or a violet grey under each eave, into doorways, beneath balcony floors, and across the shaded side of every cobble cluster. Keep the brush moving and lift it before the stroke gets fussy. Then return to the 0.1 liner and tick in a few final accents, a dark windowpane, a wrought iron rail, a small swift in the sky. This is the moment a draw a street scene step by step practice finally clicks into place.
Common mistakes
A few patterns trip almost everyone the first time they tackle a street scene. Spot them early and the recovery is quick.
- Forcing a perfect vanishing point. Streets curve, and eyes drift. If the rays look mechanical, lift two of them with the eraser and let the buildings tilt naturally back into place.
- Inking too early. The pencil envelope and perspective rays should be locked before any ink touches the page. If you ink first and adjust later, the eraser will smear the line and the contour will fight you.
- Drowning the cobbles. New painters often render every single stone. Three or four small clusters with broken arcs read as a full road, more than that turns the foreground into a quilt.
- Saturating the first wash. The pale underpainting exists to unify, not to color. If your first wash is loud, the second wash has nowhere to go and the page flattens out.
- Skipping the dry between washes. Each layer needs to be cool to the back of your hand before the next one lands, or the colors mud together and the ink can bleed.
Practice prompts
Take this same nine-stage approach and rotate the variables. A few prompts to try this week as a stretch of your city street watercolor practice:
- Redraw the same street at dawn instead of late afternoon, with cool blue grey in the shadows and a pale pink wash above the roofs.
- Choose a single doorway from the scene and zoom in, treating one shopfront as a full page composition with the same nine stages.
- Place a market stall and a couple of figures near the foreground curb to test how human shapes change the focal point of the street.
If you want to run this same nine-stage flow on your own photos, the Learn to Draw app on iOS and Android takes any reference picture and walks you through the same construction layers, ink pass, and three washes used here. Try it on a snap from your last city walk and watch the sketch come together. For now, set the kettle on, tape down a fresh page, and start with that horizon line.

