How to Draw a Coastal Landscape in Loose Ink and Watercolor
Learn how to draw a coastal landscape in loose ink and watercolor with nine clear stages that turn a quiet beach reference into a confident sketch.
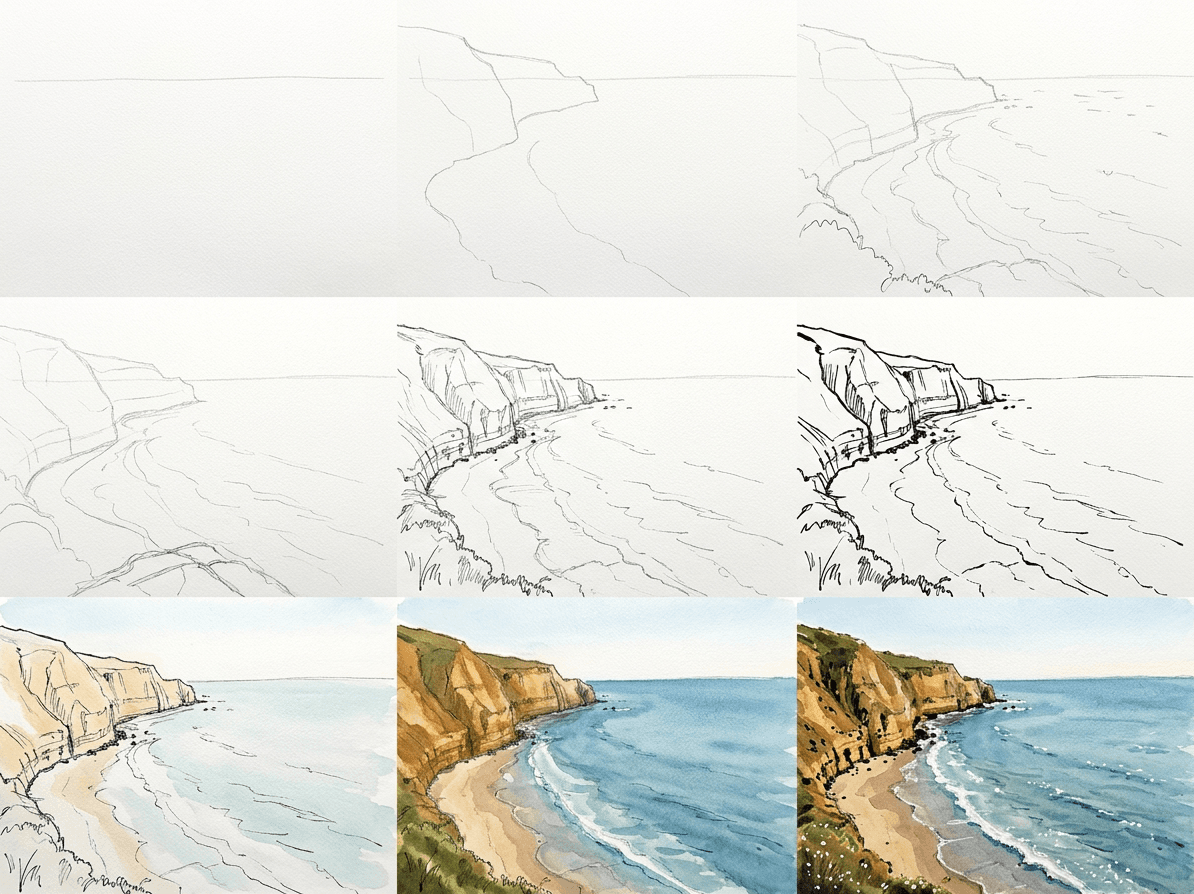
A coastal landscape gives you the cleanest possible composition lesson: a horizon line, a cliff for mass, a wedge of beach for foreground, and a sky that holds the whole thing together. This guide walks through how to draw a coastal landscape in loose ink and wash, building from a single horizontal pencil mark to a finished watercolor in nine clear stages. You will end up with a small painting that feels breezy and confident rather than overworked, and the workflow transfers cleanly to any seaside sketch you tackle next.
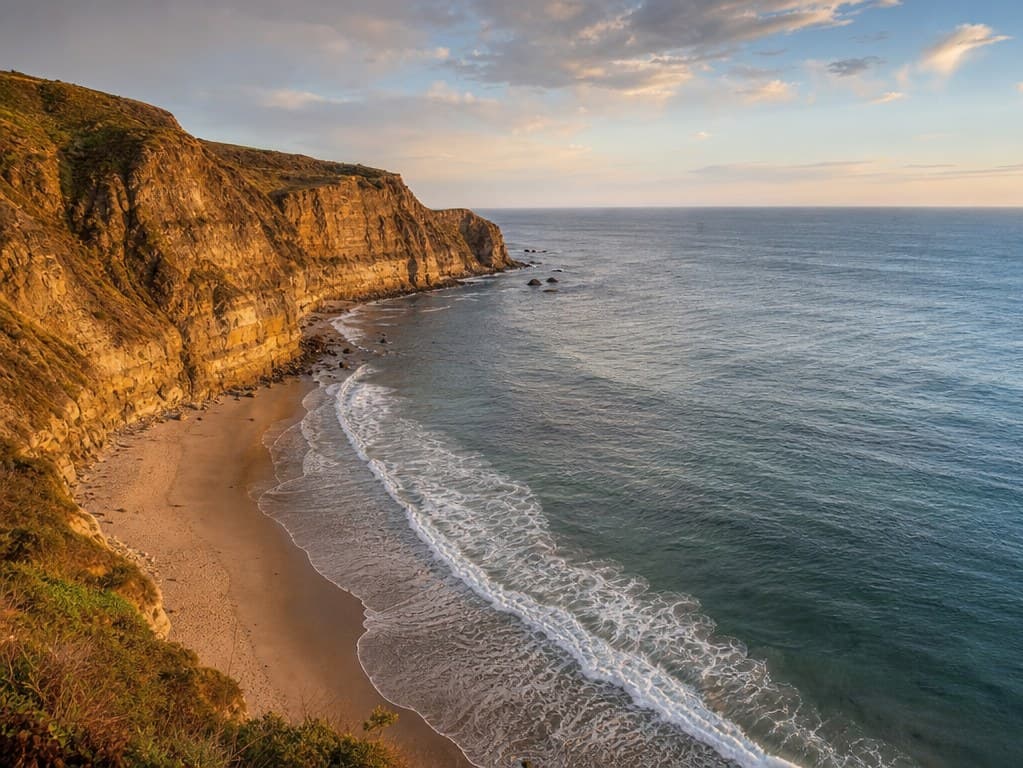
What you will need
Pick up a sheet of cold-press watercolor paper around 140 lb (300 gsm) and tape it to a rigid board on all four sides. Cold-press has enough tooth to break a wash into texture, which is exactly what you want for surf and sandstone. Letter size or A4 is plenty for a first pass, and the small format keeps your washes manageable.
For the pencil stage an HB does all the layout. A waterproof black ink pen handles the line stage, so a Micron 03 or a Lamy refillable fineliner both work well. Test the ink with a wet brush on a scrap before you start, since not every pen labeled black is fully waterproof, and a runny line will bleed into your first wash.
On the wet side you only need three pans: a cool blue such as cobalt or Prussian, a warm earth such as burnt sienna or raw umber, and a neutral grey mixed from the two. A round size 8 brush carries enough water to lay flat washes, while a size 4 cleans up edges and lifts highlights. A jar of clean water and a piece of paper towel complete the seaside sketch kit.
Why we break this into nine stages
Coastal scenes look loose on the page, but a clean wash only flows when the underdrawing is right. Most of the time, a coastal watercolor tutorial fails because the writer jumps straight to color over a shape that has not been placed. Splitting the work into nine numbered stages fixes that. You build pencil first, ink next, then layer washes from light to dark, with a stopping point after every stage to check proportion, value, and composition before you commit any pigment.
Stage 1: place the horizon
Tape down your paper, then study the reference and decide where the horizon should land. A coastal landscape almost always looks better with the horizon a third of the way up or a third of the way down rather than dead center. Mark a single horizontal line with the HB pencil, kept light enough that a kneaded eraser can lift it without scarring the surface.

Stage 2: block the main cliff
The biggest shape on the page is the cliff or headland. Block it in as one simple silhouette and ignore any small notches or rocks for now. Treat the mass like a paper cutout pinned to the horizon. If the cliff crosses the horizon line, the cliff should sit clearly in front of the sea, never floating in space behind it.
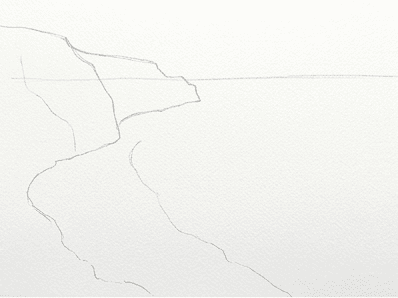
Stage 3: layer in the distant land
Now add the supporting masses behind or beyond the main landform. That might be a distant headland fading into haze, or a faint slope on the opposite side of the beach. Keep these shapes simple and a touch smaller in scale to push them back. Aerial perspective starts here, so do not match their contrast to the main cliff.
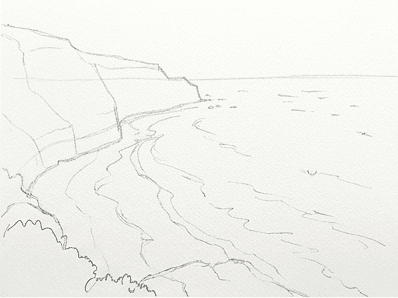
Stage 4: lay out clouds and sea line
Fill in the remaining background elements you sketched in the loose plan. For a beach scene this is usually one or two cloud shapes and the soft line of distant sea against the sky. Group your clouds in odd numbers and avoid spacing them evenly across the sky. Keep all of these marks light and confident, since the wash will soften them later.
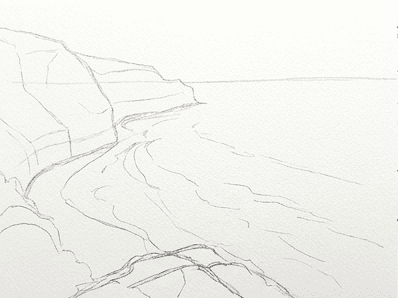
Stage 5: drop in the foreground anchor
Pick one foreground element that gives the painting a sense of scale. A clutch of rocks at the waterline, a piece of driftwood, or a wedge of dune grass all work. Place it just off-center, then overlap it with the line of the beach so it leads the eye into the composition rather than blocking the middle ground.
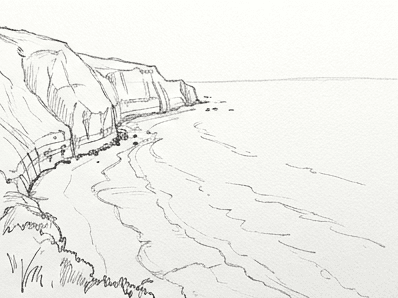
Stage 6: erase pencil and ink the essentials
Lift the pencil under a kneaded eraser until you can only just see your shapes. Then ink over the essential edges with your fineliner using a loose, broken line. The goal is suggestion, not tracing. Skip parts of every edge, especially in the middle distance, so the first wash has somewhere to breathe and the page does some of the drawing for you.
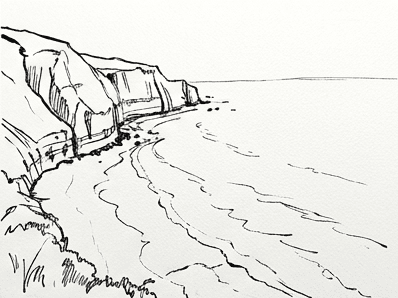
Stage 7: lay the palest washes
Wet the sky area first with clean water, then drop in a thin cobalt wash from the top, leaving cloud shapes as bare paper. Move to a warm sand wash across the beach. The first pass sets the lightest tone on every surface that will eventually read light, so reserve all the brightest whites at this stage. Nothing later can put white back.
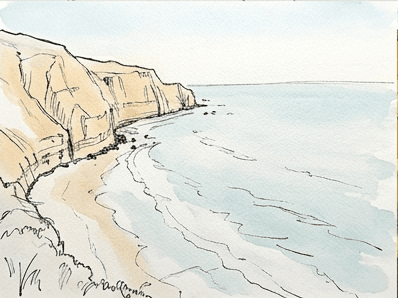
Stage 8: build the mid-tone color
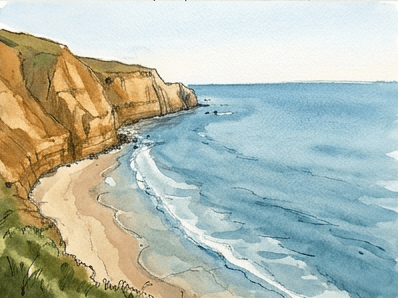
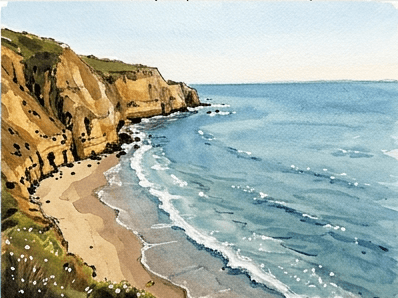
Once the first wash is dry, layer mid-tones to give shapes their real local color. The cliff gets a sandstone mix of burnt sienna and a touch of cobalt. The sea gets a slightly darker, greener blue toward the horizon. Keep edges soft on the sky and crisper on the rock so the cliff reads as the solid part of the picture.
Stage 9: punch in shadows and ink accents
Mix a dark from your blue and earth and drop shadows into the deepest pockets: the underside of the cliff, the wet sand at the surf line, and the shaded face of a foreground rock. Add a few short ink lines back into the darkest spots for grit and texture. Then stop, because the next mark is usually the one that kills the painting.
Common mistakes and how to recover
Four failure modes show up over and over in this kind of seaside sketch. The first is putting the horizon dead center, which splits the composition into two equal bands and kills any sense of scale. Erase and resketch with the horizon a third of the way up or down, and the painting almost always saves itself.
The second is overworking the sky. A single graded wash with reserved whites almost always beats three layered passes. If the sky has gone muddy, lift pigment with a damp clean brush before it dries fully, or rinse the whole area while wet and start the sky again from clean paper.
The third is making the sea too dark too early. The water needs to read paler than the land near the horizon to give you that hazy sense of distance. If your sea has already gone too saturated, blot with a tissue while the wash is still wet, or wait until dry and lift gently with a stiff brush.
The fourth is over-inking the line stage and ending up with a coloring-book look. Skip more line than you draw, and let the watercolor define the rest. If you have already over-inked, lean into it with bolder, slightly darker washes so the heavy line starts to look deliberate rather than accidental.
Practice prompts to lock the workflow in
Once the first version is dry, take a fresh sheet and run the same coastline at a different time of day. Try a cool blue-grey overcast morning to see how the value range compresses. Notice how the cliff stops glowing and the whole scene reads cooler and quieter, while the foreground rocks become the new center of interest.
Then try a wider aspect, almost panoramic, and push the cliff further to the side. Leave most of the page as sky and water. A good loose ink and wash landscape rewards an honest sense of emptiness, and a wider format gives you room to practice that without your sketch feeling underfilled or accidental.
For a third variation, swap the cliff for a low dune covered in grass and run through how to draw a beach step by step using the same nine stages. The drawing order is almost identical, but the silhouette is much softer, which forces you to lean harder on value contrast in the wash stage. This is the fastest way to test whether your understanding of the method has actually clicked.
You now have a small painting that proves a coastal landscape only needs four or five shapes to feel finished. Save the reference, save the sketch, and shoot your own photos next time you are near water. The Learn to Draw app on iOS and Android can run this same nine-stage workflow on any photo you pick from your camera roll, so today's session can roll into tomorrow's morning sketch without you needing to plan a thing.

