How to Draw a Coffee Cup in Pencil: A Step by Step Guide
Learn how to draw a coffee cup in pencil with a friendly nine-stage walkthrough covering ellipses, the handle, shadow shapes, and graphite halftones.
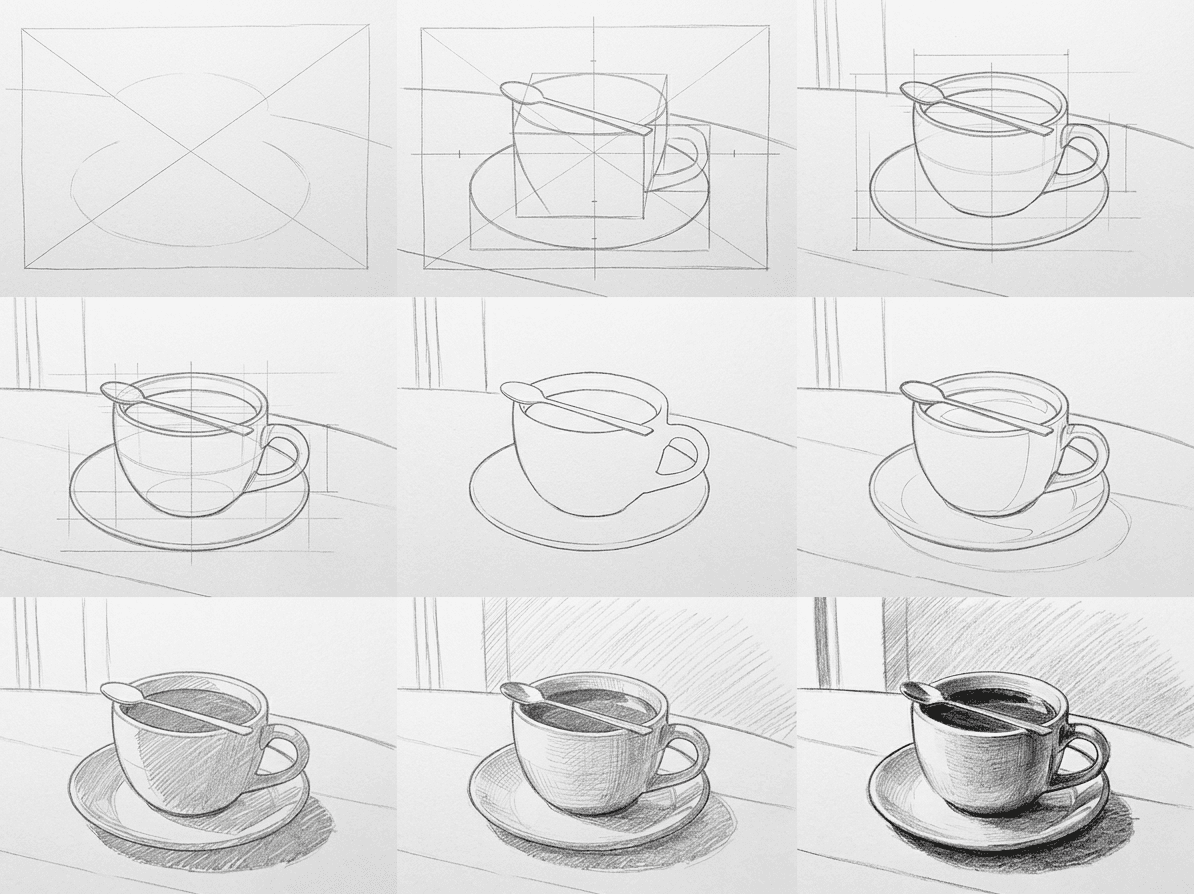
A coffee mug is one of the friendliest still life subjects you can pick. The shapes are simple, the lighting is forgiving, and you only need a pencil and an eraser to start. This guide shows how to draw a coffee cup in pencil from a flat envelope to a fully shaded illustration in nine clear stages. Treat it as a complete still life sketch tutorial for beginners: shapes first, edges later, shading last. By the end you will have a finished coffee cup pencil drawing on your page and a workflow you can reuse on any small object.
What you will need
Your pencil kit can stay small. An HB pencil handles the layout lines, a 2B builds the mid values, and a 4B or 6B pushes the darks under the saucer and inside the cup. A kneaded eraser lifts graphite without smudging, and a plastic stick eraser carves clean highlights into a finished tone. A blending stump is optional. Many artists skip it and use a soft tissue instead.
Paper matters more than people expect. Smooth Bristol or a mid tooth drawing pad both work for this subject. Heavier paper, around 90 lb or higher, takes layered graphite without buckling. If you only have printer paper, that is fine for practice, but expect the darks to bottom out faster.
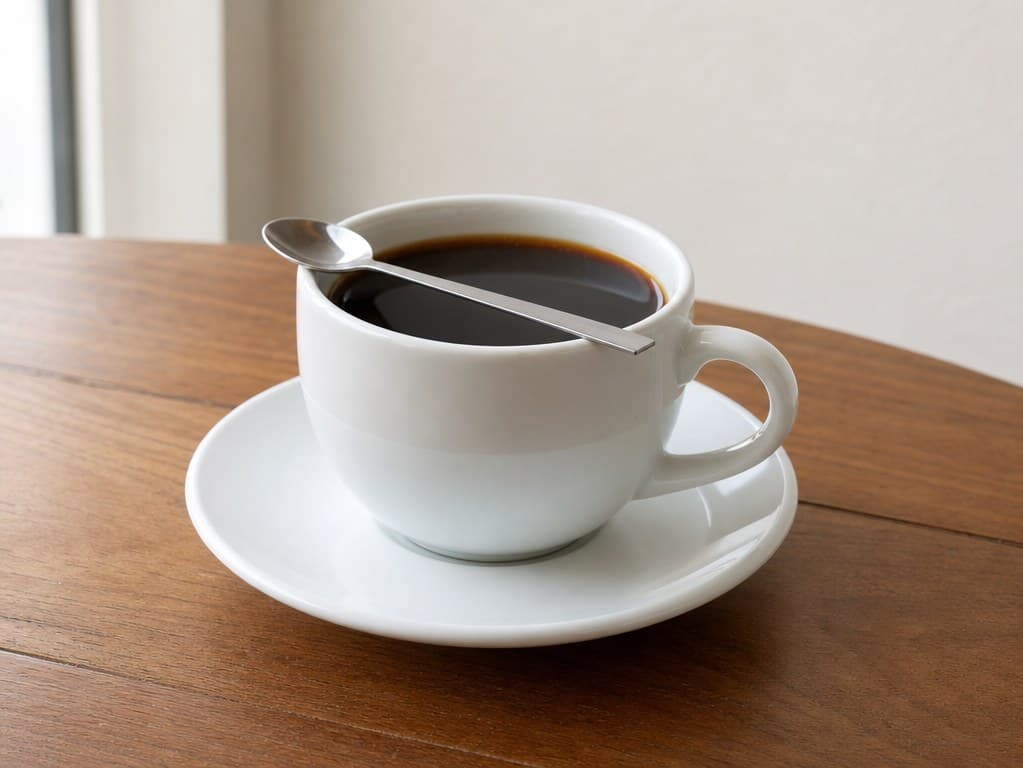
You will also want a flat reference image. Print the photo or open it on a tablet at the same orientation as your paper. Set both at the same eye level so you can compare proportions without tilting your head.
Why we break this into nine stages
Drawing a familiar object from scratch invites the brain to skip steps. You see a mug, you draw a mug, and suddenly the ellipse on top wobbles and the handle floats off the body. The nine stage method slows that reflex. Each pass isolates one decision: envelope, axes, proportions, curves, cleanup, shadow shapes, hatching, halftones, and final darks. When you draw a mug step by step like this, you catch errors when they are still cheap to fix in graphite rather than after you have spent forty minutes shading. The same workflow scales to any easy object drawing on your kitchen counter.
The nine-stage walkthrough
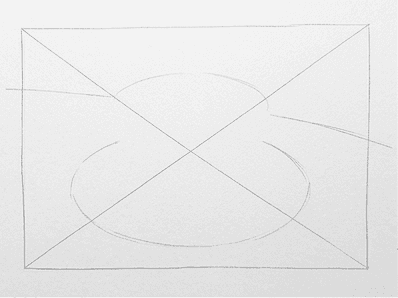
Start with a single light rectangle that locks the mug, saucer, and spoon into one shape. Hold your pencil at arm's length, measure the widest point, then the tallest, and mark them on the paper. Keep the lines feather light so you can adjust them later. The envelope is not the drawing. It is the box the drawing has to fit inside, and your top priority is the overall proportion.
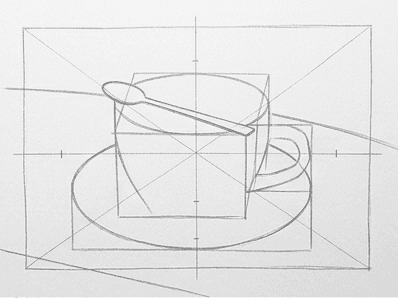
Inside the envelope, mark a vertical axis down the center of the mug and a horizontal axis at the top rim. These two lines anchor every ellipse you draw later. Add a tilted oval for the saucer base, a soft rectangle for the body of the cup, and a small lozenge for the spoon. Treat the handle as a curved wedge for now. You are blocking volume, not chasing detail.
Now check the relationships between shapes. Is the mug body about twice as tall as the saucer is deep? Is the rim ellipse the same width as the base ellipse? Tilt the long axis of every ellipse to match the picture plane. The far edge of each oval should sit slightly behind the near edge. If a ratio is off, fix it before you commit to a single curve.
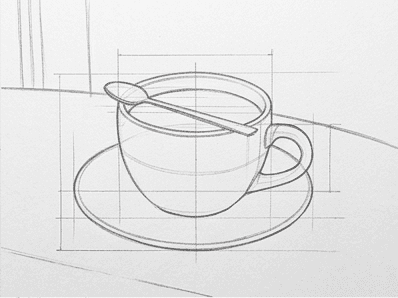
Trace the actual mug profile over your blocking lines. Use one long, light stroke per side rather than scratchy little segments. Draw both halves of every ellipse, including the parts hidden behind the body, so the curve stays smooth. The handle is two arcs that meet at the cup wall, not a closed circle. The spoon stem ends in a flat oval bowl that sits on the rim.
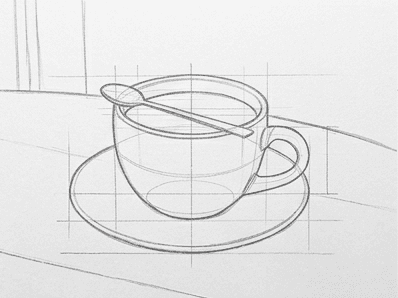
Take a kneaded eraser and gently lift every construction line that is not part of the final outline. Tap the eraser instead of dragging it so you do not bruise the paper. Reinforce the final edges with a clean HB line. This is the stage where you commit. Spend an extra minute confirming the rim is one continuous ellipse and the handle joins the body in two distinct spots.
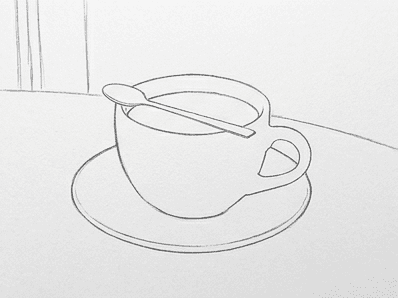
Squint at your reference until the values collapse into three flat groups: light, mid, and dark. Trace the boundary of every dark and mid shape onto your drawing with a light pencil line. Include the cast shadow under the saucer, the core shadow on the inside lip, and the small reflected dark inside the handle hole. These outlines are a map. Shading is much easier when you already know where the dark zones live.
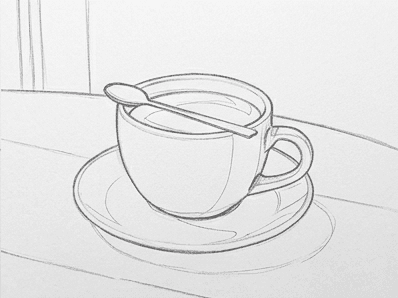
Fill each shadow shape with parallel diagonal lines using a 2B pencil. Keep the strokes uniform inside one shape and change direction at every value boundary. Hatching reads as a single value when the strokes touch but do not overlap. The inside of the cup and the cast shadow under the saucer should land the darkest in this first pass. Stay light on the mid tones for now. You can deepen them later.
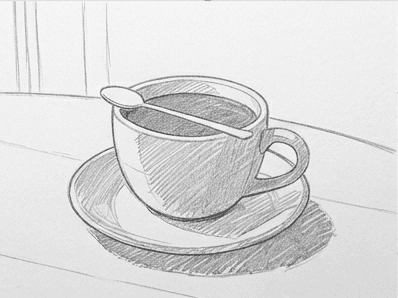
Bring in the soft mid grey halftones that wrap around the body of the cup, the front of the saucer, and the side of the spoon. Use the 2B at a low angle and a blending stump or tissue if you want a smoother gradient. Block in the background wall as a flat halftone too. A drawing without a background often looks pasted on, so even a light pencil wash gives the cup a place to sit.
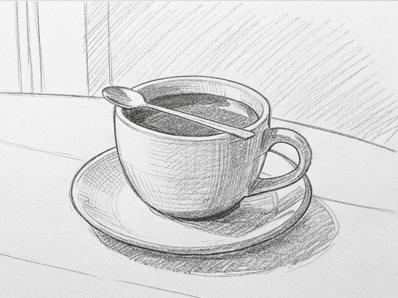
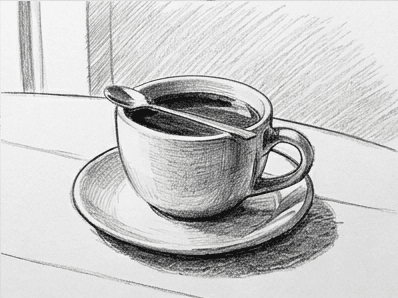
Switch to a 4B or 6B and push the darkest darks: under the saucer rim, inside the cup, and where the spoon meets its own shadow. Carve a few sharp highlights with a stick eraser, especially on the curve of the rim and the wet spot of the spoon. Step back, squint, and check that the brightest highlight, the deepest shadow, and a clean mid tone all read at once. That contrast is what makes the drawing feel solid.
Common mistakes
A wobbly rim ellipse is the most common failure mode. If the top of the cup looks pointed on one side, your long axis is tilted off the picture plane. Lay a ruler across the rim, redraw the axis, and retrace the ellipse in one smooth pass.
A floating handle ranks second. Drawing the handle as a closed shape pasted onto the cup body breaks the volume. Erase the inner edge of the handle, restate the cup wall behind it, and rebuild the handle as two arcs that clearly attach to the cup.
Flat shading happens when every shadow gets the same pencil pressure. Recover this by identifying the single deepest dark in the drawing, usually inside the cup, and making nothing else as dark. Pull every other shadow back toward mid grey by half a step.
A spoon that looks like a stick comes from skipping the bowl. The head of the spoon is a flat ellipse that sits on the rim and catches a bright highlight. Add the ellipse, then refine the perspective so the bowl reads as a scoop rather than a paddle.
Smudged whites usually mean a graphite coated hand. Rest your drawing hand on a clean sheet of paper while you shade, and lift any stray graphite with a kneaded eraser before you add the final highlights.
Practice prompts
Once the basic mug is in your sketchbook, try the same exercise with a tall latte glass. The taller proportion forces you to redraw the envelope and adjust the ellipse axes, which is a useful test of how well you understood the method.
For a tougher reference, photograph your own coffee cup under harsh side light from a window at the same time tomorrow. The cast shadow will be long and clearly shaped, and you will spend more of the session in the shadow mapping stage than the outline stage.
If you want to push toward a finished still life, add a sugar bowl and a small linen napkin to the same setup. The shared cast shadow ties the objects together and forces you to keep a consistent value range across the whole drawing.
A clean coffee cup pencil drawing is a measured exercise in ellipses, edges, and three honest values. If you finish this tutorial and want to keep practicing the same workflow on your own photos, the Learn to Draw app for iOS and Android runs the same nine stage breakdown on any reference you point your camera at. Try one mug today, a teapot tomorrow, and a full coffee table arrangement by the end of the week. The method scales.

