How to Draw a Bowl of Fruit in Loose Ink and Watercolor
Learn how to draw a bowl of fruit in loose ink and watercolor with a calm nine-stage guide covering bowl ellipses, shadow shapes, and color washes.
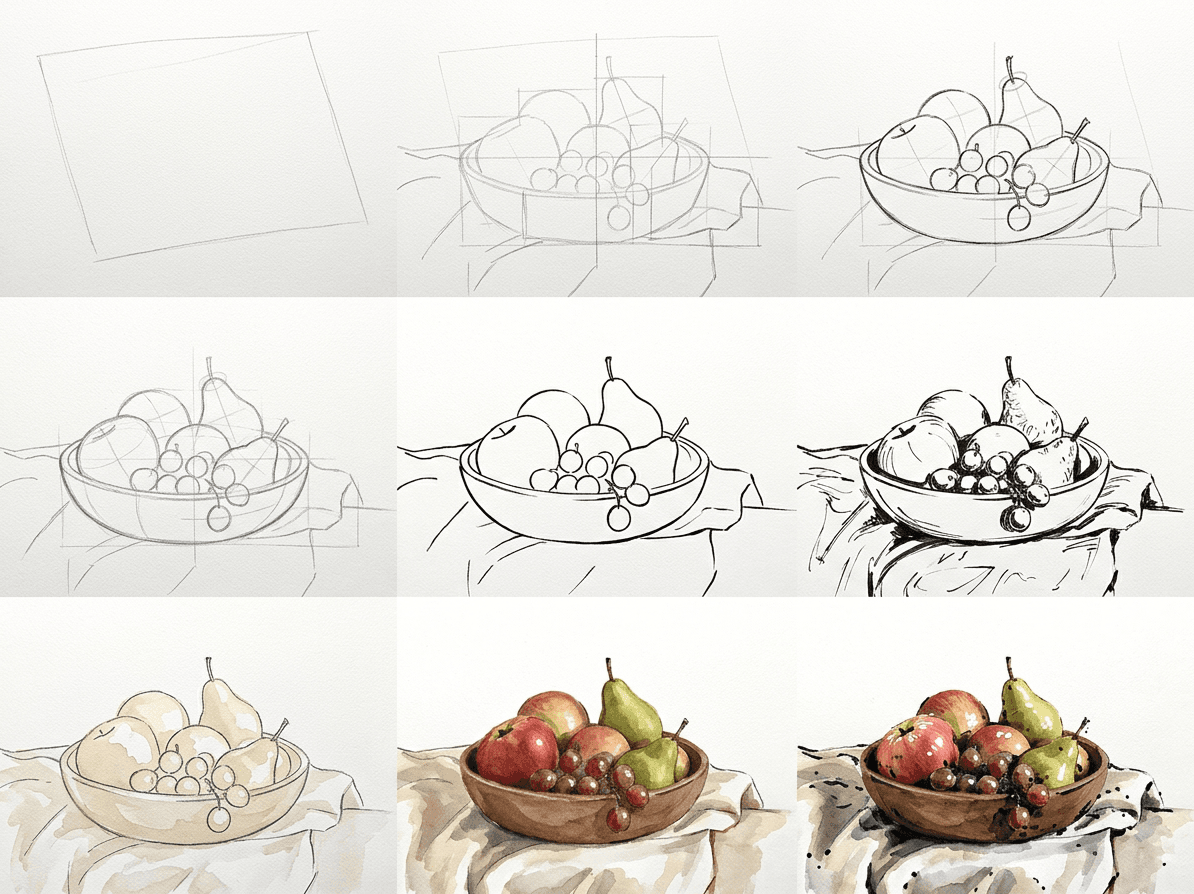
A wooden bowl piled with apples, pears, and grapes is one of the friendliest still life setups you can pick. The shapes are simple, the colors carry, and a soft window light forgives a wandering pencil hand. This fruit watercolor tutorial shows how to draw a bowl of fruit in loose ink and wash. The nine-stage construction keeps proportions honest while leaving room for the color to do the heavy lifting. By the end you will have a confident sketch that reads as an easy fruit painting from across the room.
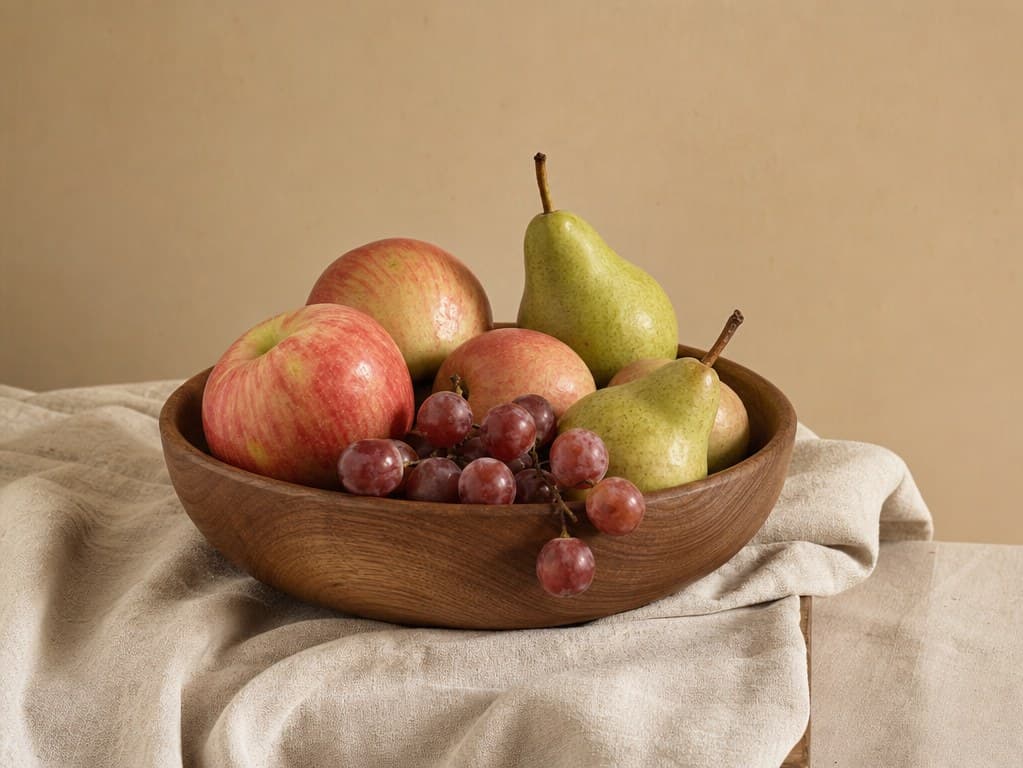
What you will need
You will need three pencil grades. An HB for the layout sketch, a 2B for the slightly heavier pre-ink lines, and a soft kneaded eraser to lift graphite without bruising the paper. Cold press watercolor paper around 200 gsm holds wet washes without buckling and still takes a clean pencil line. Tape it to a board with low tack tape so the edges stay flat as the paper relaxes.
For the ink stage, a waterproof fineliner around 0.3 mm covers most of the linework. A 0.5 mm gives you punchier shadow lines later, and a flexible brush pen adds variation if you want a livelier outline. The key is that the ink is fully waterproof so the wash does not bleed the lines into a grey haze.
Watercolor wise, a small palette covers this scene. You want a warm yellow, a quinacridone red, and an orange like burnt sienna. Add a sap green for the grapes and a neutral mixing brown like burnt umber for the bowl. Two soft round brushes, around size 6 and size 10, handle every wash. A jar of clean water, a paper towel, and good light at your shoulder finish the kit.
Why we draw a still life step by step in nine stages
The nine-stage method spreads the work so each step has one job. The first four are graphite construction, where you sort out proportion, ellipse tilt, and curve shape before any ink. Stages five and six commit those shapes in line, first the silhouette, then the shadow shapes inside the silhouette. The last three stages are wash work, climbing from a light overall layer to mid-tone modeling to the darkest accents. Beginners get into trouble when they try to draw and shade in the same pass. Splitting the work prevents that, and it gives you a recovery point if any single stage drifts.
Working through the nine stages
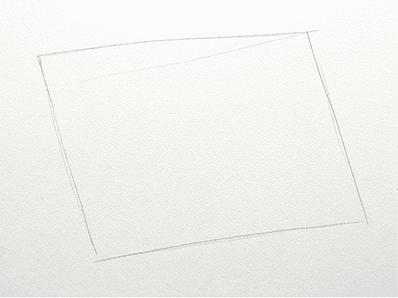
Start with the broad envelope that wraps every fruit and the bowl as a single shape. Lightly mark the outer rectangle that bounds the still life and place a horizontal line for the table edge. With your HB pencil, sketch a soft oval that covers the full silhouette of the bowl plus the fruit pile sitting above it. Do not commit to any single object yet; this is just a container for everything else.
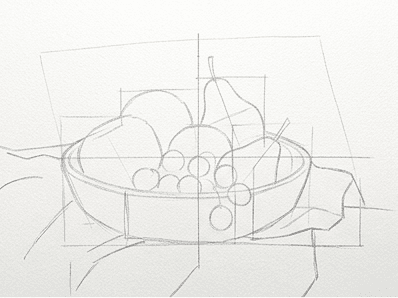
Now break the envelope into the largest sub-shapes. Find the central axis that runs vertically through the bowl and add a horizontal line where the bowl rim sits. Block the bowl as a flattened cup and rough in the apples, pears, and the grape cluster as basic ovals. Keep your touch light. The goal of this stage is relative size and stacking order, not contour quality. If two fruits clearly overlap, mark which one sits in front.
Step back from the page and check what feels off. The most common slip at this stage is an ellipse that does not match the rest of the bowl. Draw a clean ellipse for the rim and a matching arc for the foot, both sharing the same horizontal axis. Tighten the proportional sizes of each fruit by holding your pencil at arm's length and measuring widths against each other. Adjust now while everything is still graphite.
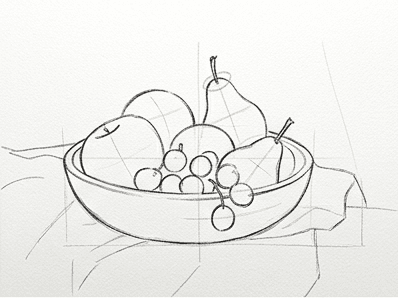
With the proportions set, draw the actual contour of each piece. Round the apples with a smooth shoulder and a slight flat at the top where the stem dips. Pears get a wider base and a narrow neck. The grapes are not perfect circles; many are squashed against neighbors and read as soft hexagons. Slow your hand here. The line you commit to in graphite at this stage is what the ink will follow in the next.
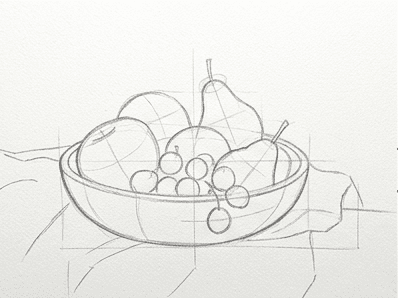
Pick up the fineliner and trace the cleanest version of every outline. Move slowly, keep the pen vertical, and leave a tiny break in the line wherever one fruit overlaps another so the eye reads which sits in front. After the ink is dry, lift all the graphite with the kneaded eraser. The page should look almost too sparse at this point. Trust it; the washes will fill the volume.
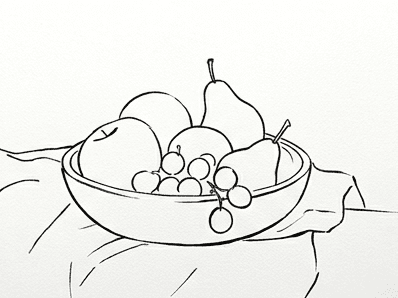
Now mark the boundaries of the cast shadows and the deeper core shadows on the fruit themselves. Use the same fineliner or step up to the 0.5 mm if you want sturdier dark shapes later. Draw only the outline of each shadow shape, not solid fill. The cast shadow under the bowl reads as a soft ellipse echoing the bowl's foot. Pear shadows often pool toward the contact point, so taper your shadow line to that meeting place.
Mix a generous puddle of the lightest local color for each piece, watered down to a pale tint. Run a clean wash across each fruit shape, leaving a small white highlight near the top facing the light. Work wet on dry so the boundary stays crisp at the ink line. Touch a faint warm grey wash inside the bowl to set its tone. Let the page rest until the surface sheen is gone before going on.
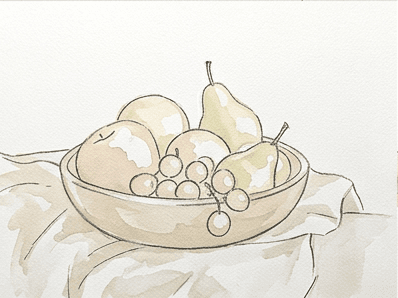
Build the second wash inside the shadow shapes you outlined earlier. Use a slightly stronger version of the same color, plus a touch of the complementary mixing brown to push it toward shadow. Drop the wash inside the ink boundary and let it settle. The pear gets a long curved shadow on the side opposite the light. The apple shadow wraps around the lower third of the form. Reload the brush with clean water at the edge of each shadow to soften the back side.
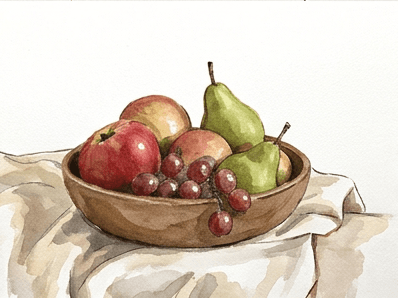
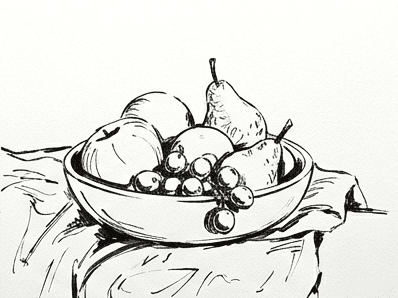
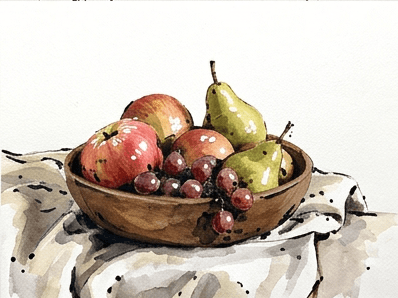
Switch back to the fineliner and add the darkest accents only where the form turns into deep shadow. Hatch lightly inside the cast shadow under the bowl. Fill the contact points where grapes meet, and tap a few short marks under each fruit where it touches a neighbor. The page is finished when the darkest darks live near the contact points and the lightest lights stay near the top of each fruit. Step back across the room. The drawing should still read clearly.
Common mistakes when painting a fruit still life
Most still life drawings stumble in the same handful of places. Spotting the failure mode early is half the recovery.
- Wonky bowl ellipses. The rim and the foot live on different horizontal axes. Fix this in stage three by drawing both ellipses across the same long horizontal guide line and adjusting until they read like the same bowl.
- Floating fruit. The cluster looks pasted onto the bowl because no fruit visibly touches a neighbor. Fix this in stage four by lightly indicating the points of contact and giving each touching pair a tiny shared tangent line.
- Muddy washes. The colors look dull because every wash hit the page while another was still wet. Fix this by waiting until the page loses its sheen between layers and limiting yourself to two layers per fruit.
- Lost highlights. The fruits look heavy because no white was reserved at stage seven. Fix this by lifting a small dot of color with a clean damp brush before the wash dries. As a last resort, tap a touch of opaque white at the very end.
- Equal-weight ink everywhere. The drawing looks flat because every line carries the same thickness. Fix this in stage nine by reserving the heaviest line work for the contact points and the deepest cast shadow.
Practice prompts
Once today's sketch dries, try a quick variation while the technique is fresh.
- Swap the lighting from a window-left source to a top-down kitchen lamp and notice how the cast shadow shrinks to a tight pool around the bowl.
- Rebuild the same setup with a glass bowl instead of wood. The bowl now needs an inside outline plus a soft second tint to read as transparent.
- Replace one fruit with a sliced citrus showing the cut face. The flat circle of pulp is a great test of clean ellipse drawing inside a curved volume.
A bowl of fruit rewards a calm hand and a willingness to wait between layers. The nine-stage approach gives you that pacing built in. If you want this same workflow on your own reference photos, the Learn to Draw app generates the construction grid automatically. It runs you through the same nine stages on iOS and Android. Tomorrow's post takes the same ink and watercolor method to a different subject; come back for it.

